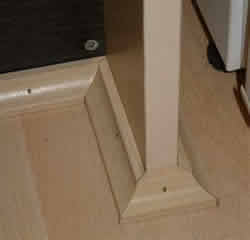
One of the most common joints in wood working is the mitre joint, this is simply a joint that joins two pieces of wood together by dividing the angle of the two pieces of wood in half, so if you had two pieces of wood that required joining at 90 degrees then you would cut each mitre at 45 degrees.
Mitre joints can be used on internal corners or external corners-
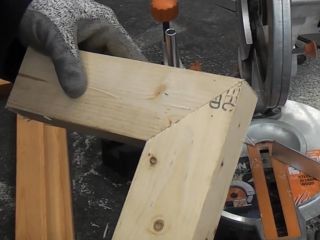
Example of a standard 90 degree mitre joint (each mitre requires cutting at 45 degrees)
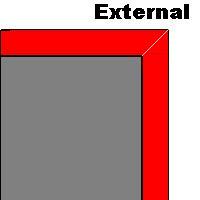
External mitre
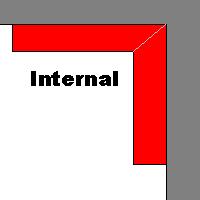
Internal mitre
There are various types of mitre saw available from the very basic mitre block and tenon saw, to the sliding compound saw. I once mitred all of the joints on a complete house, from every door architrave to every skirting board with a cheap mitre saw costing less than £10.00
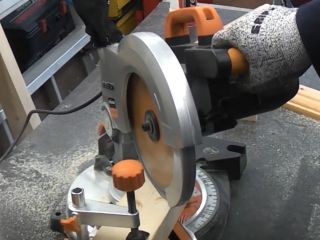
Inexpensive chop saws like this evolution model can cut basic mitres with ease on small pieces of timber, this saw was approximately £50.
Hand mitre saws are available but they can be hard work so buying an electric model makes sense.
When cutting mitre joints each piece has the be cut at exactly the same angle, you cannot cut one piece at 46 degrees and the other at 44 degrees as the mitre will not match up correctly.
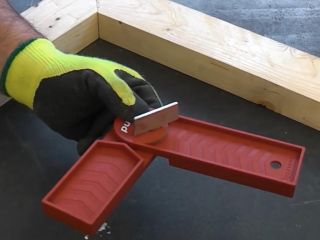
This Trend angle fix makes measuring angles easy as it automatically divides the measured angle by two
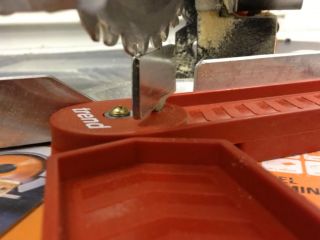
The flag automatically shows the correct angle that the blade needs to be set at.
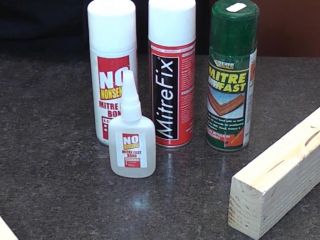
Glue is available which makes setting the mitre joint much easier, simply apply the glue to one piece and apply the activator to the other piece. When both pieces are placed together the glue forms and almost instand bond. You can then use screws or nails to hold the joint together.
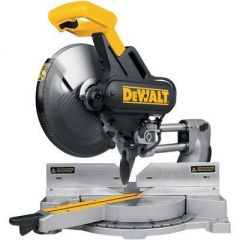
For cutting mitres on large pieces of timber or cutting complicated compound mitres a sliding mitre saw like this Dewalt is required.


