

How to make an Acrylic table top
As I have stated previously I think that Acrylic sheet is of great value to the DIY enthusiast and so I am always looking for new uses. In many cases it can be used to replace wood and has the advantage that it is already coloured and will not fade for a very long time, Perspex® from Lucite® is guaranteed for at least 10 years!
Here I am going to make a very simple table top for a desk which accommodates my computer, scanner and printer etc.
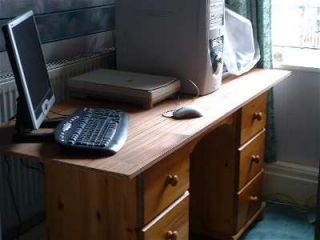
Here is a picture of my old worktop. The desk was far too small for all of the peripherals and so I cut a piece of mahogany faced chipboard to increase the size of the table top. This was a temporary measure until I found something more suitable.
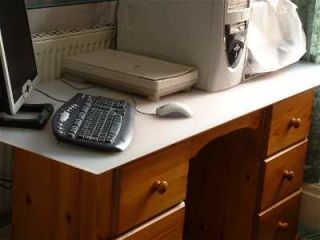
This is the new table top it is made from a piece of Perspex® Frost® 8mm thick, colour 030. Perspex® Frost® is often used for making furniture and comes in a variety of different colours and thicknesses.
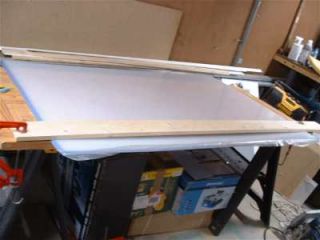
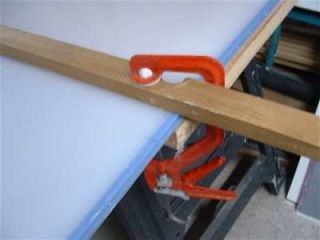
To obtain the straightest possible edge it is advisable to clamp a long, straight piece of wood to guide the saw and stop it from wandering.
A circular saw is best for long straight cuts, here you can see that I have positioned the piece of wood in far enough so that the blade cuts approximately 1-2 inches from the Gasket (some acrylic still has the gasket on when you purchase it, but it is often cut off by the stockist) To cut any material with ease it is important to set the depth of the blade correctly, some circular saws have adjustable depth and some do not. If you can adjust the depth of the blade adjust it so that the blade protrudes just enough to exit the bottom of the material that you are cutting.
It's a good Idea to put some ear plugs or similar in your ears as it can be quite noisy, safety glasses are also needed or a full face visor is even better! When cutting any material always start the machine before touching the material with the blade or it could kick! Never stop the machine in the work piece as it will leave saw marks.
A helper comes in handy when making long cuts to hold the piece that you are cutting off as it tends to drop considerably and can crack, make sure your helper has adequate ear protection and safety glasses and ensure they keep well away from the blade.
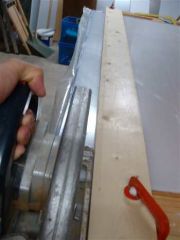
For cutting the shorter edge I used a piece of slate batten. You can see that the Perspex® Frost® that is being cut is supported well underneath and is close to the work surface that it is clamped to.
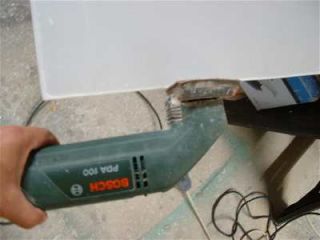
Because Perspex® Frost® has a non reflective finish it is very easy to finish the edges. There is no need for polishing, simply sand the edges with a sander or by hand. Peel back the masking on the Perspex® Frost® about 1 inch and then sand it until the saw marks have gone.
The sanded edge looks exactly like the finish on Perspex® Frost®
Finally I drilled two holes through the Perspex® Frost® and fastened it to the table underneath using countersunk stainless steel screws.