

How to remove a central heating radiator
Removing a radiator is not normally difficult as long as you take your time with it. If the radiator is a large on you may need two people to lift the radiator from it's brackets.
You may find it necessary to remove a radiator from the wall, perhaps to re-plaster behind it, or to paper behind it.
Removal of the radiator is not normally necessary when painting as you can normally paint behind a radiator with a long handled paint roller. Wall papering behind a radiator also does not require removal of the radiator as you can normally cut slits in the paper where the brackets are. Be sure to use Border adhesive to glue the paper to the wall around the radiator as normal wall paper paste comes loose with the heat and makes the paper lift from the wall and curl! It is of course better if you do remove the radiator and paper behind it, but in some cases you do not always have to!
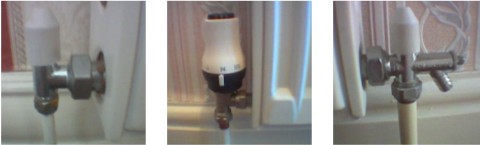
There are normally two valves, one at either end of the radiator. These are the flow and return valves, one of the valves is a lockshield valve and the other is a manual control valve or thermostatic valve. This picture shows the different types of valves. On the left is a lockshield valve, the middle is a thermostatic valve and the one on the right is a lockshield with drain off. The drain off valve can be used to drain the individual radiator or can be used to drain off the whole system.
To remove the radiator you are going to need
- large adjustable spanner or a spanner which fits the nut which connects the valve to the radiator.
- A set of water pump pliers to hold the valve whilst undoing the connecting nut.
- Radiator bleed key.
- Some old dust sheets, a bowl and a bucket.
Close the manual valve by turning it clockwise.
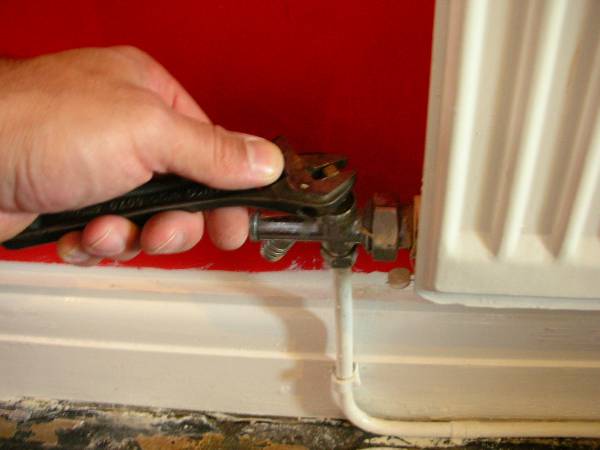
Close the lockshield valve using a suitable spanner. This will close in a clockwise direction.
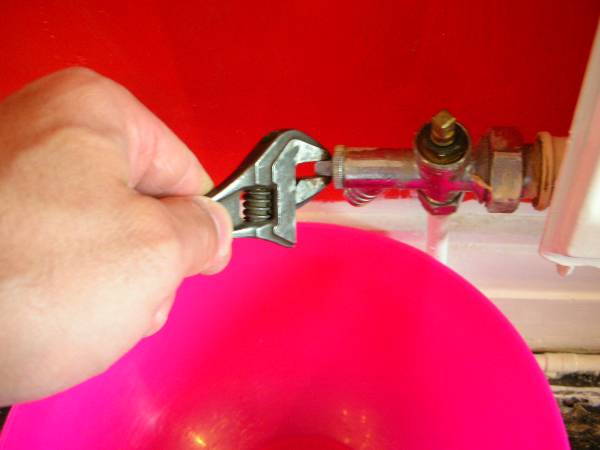
On this radiator we are lucky as the lockshield valve also has a drain off valve attached.
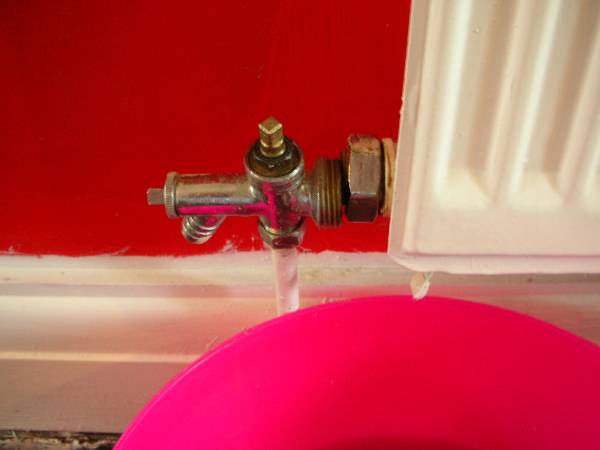
Place a container beneath the valve and open it using a suitable spanner.
If you do not have a drain off valve on the radiator that you are removing then place the bowl beneath one of the union nuts and undo this and allow the water to drain, instead of using the drain off valve. If your bowl starts to fill you can close the valve until you empty the bowl.
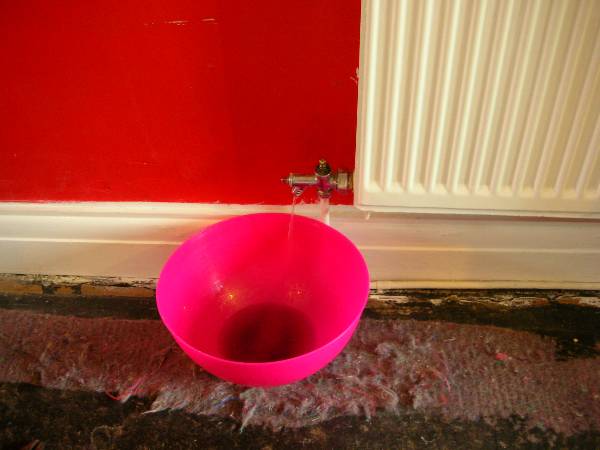
Here the carpet has been removed as the whole room is being renovated, but normally you would use dust sheets to protect the carpet and possibly a plastic sheet.
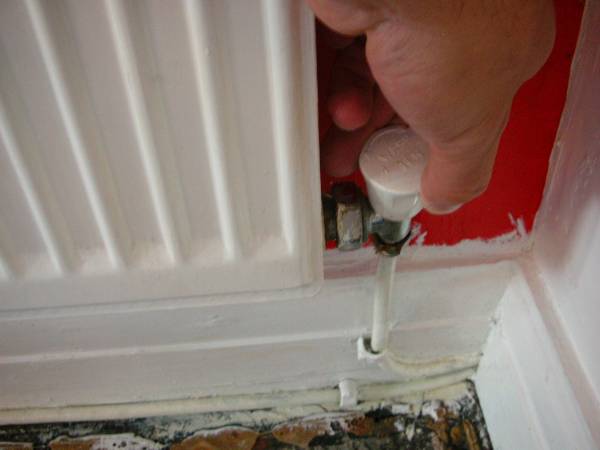
The bleed valve needs opening so that the water inside can be replaced with air and so undo this using a radiator bleed key, when you open this valve the water will exit from the radiator a little faster.
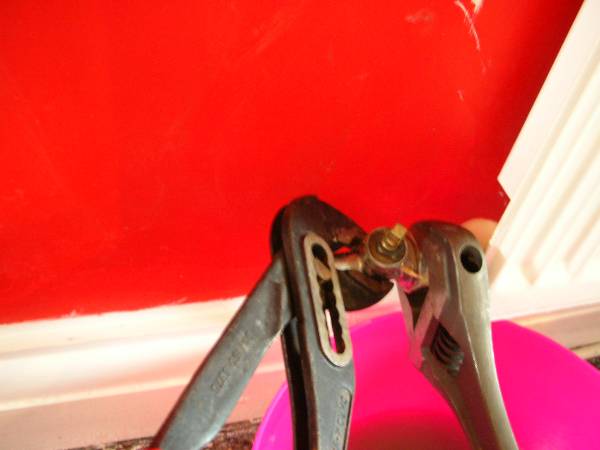
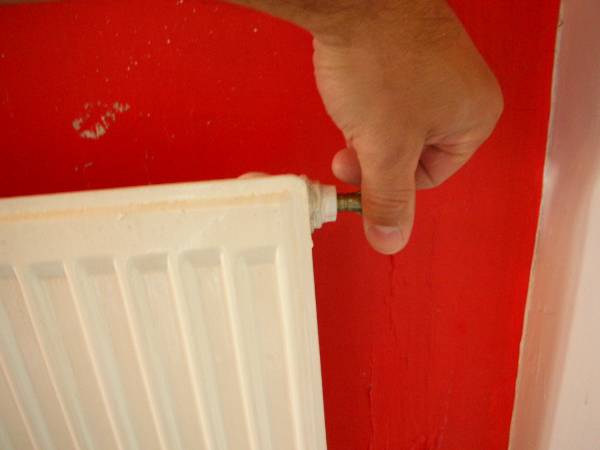
When you are sure the radiator is empty you can undo the two union nuts that are fastened to the radiator. To do this you need to grab the valves with a large pair of water pump pliers to prevent the pipes from being damaged when you try to undo the union nuts.
Grip the valve firmly with the water pump pliers and then, using a suitable spanner undo the union nut. If one of the valves is a thermostatic valve it will need capping off as these valves are notorious for leaking!
I know several people who have removed radiators without capping the thermostatic valve and have partially flooded the house!!! It is also a good idea to cover the valves with a plastic carrier bag or similar to prevent dirt or paint etc. from entering the valves.
Re-position the bowl to collect any water that may be left inside the radiator. Now remove the union nut from the other side of the radiator. You should now be able to lift the radiator up and off from it's brackets.
To refit the radiator you simply lift it back onto the brackets then fasten both of the valve retaining nuts, make sure these are tight and not leaking. Open the lockshield valve first then the manual valve or thermostatic valve, check for leaks!
Now undo the bleed screw to expel the air, when water exits from the bleed screw tighten it back up. It may now be necessary to check the pressure in the boiler and top up if necessary.