

Rebuilding or building a garden wall from scratch is not normally a difficult job, here is how to do it-
Bricklaying depends on good weather and so do not try and lay blocks in the rain, in cold weather and never try to build with frozen blocks. This wall was built in July 2007 and it took much longer than anticipated because we kept getting rained off!
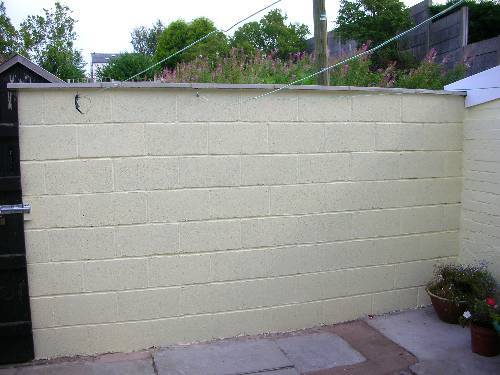
This is a picture of the garden wall that has been built and painted.
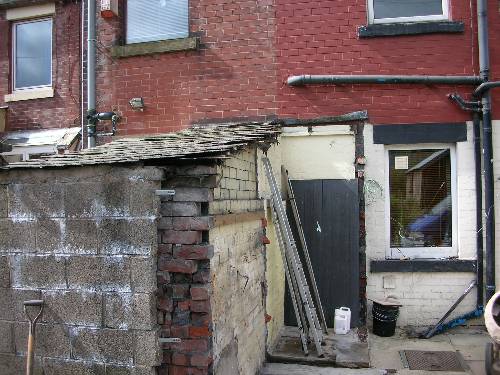
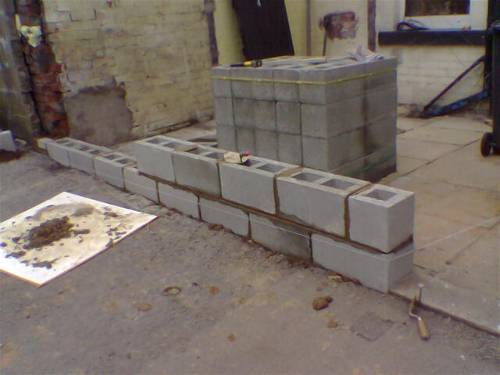
There used to be a garden wall here and two disused outbuildings. A skip was hired and the buildings and wall were demolished as the wall was leaning quite badly.
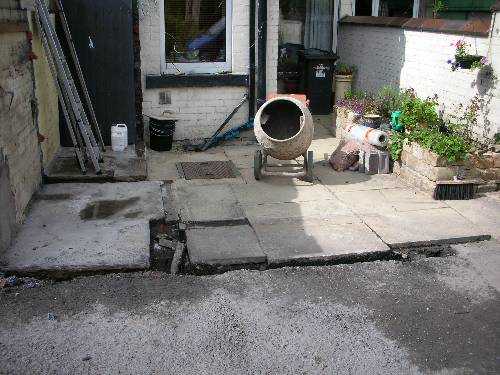
Here you can see where the old wall was. The old foundations were dug out to a depth of about 150mm and then concrete was poured and levelled into the hole so that it created a firm surface to start building on. A cement mixer is essential when doing a job like this, these can be hired or bought if you have enough use for it. Ensure the concrete has hardened before you start to lay blocks/bricks on top of it.
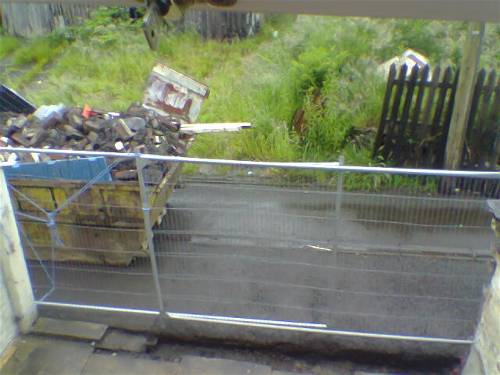
It is a good idea to hire some security fencing if you are removing a wall that is dividing a property from a public place. This fencing can normally be hired out from scaffolding firms.
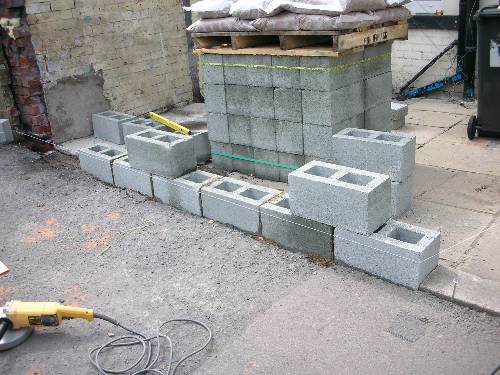
Because we are joining to the neighbours wall we will start to build each level of blocks from the right hand side of this picture, so that all the cuts will be at the join and not on the open end where the door will be.
You can see that I have set the first block and then used a string line to create a line to follow so that it meets with the existing wall. When the blocks are laid I can follow this line.
Never try to build a wall like this in one go, it is best to build it over a couple of days or the weight of the blocks above can force out the mortar from the joints below.
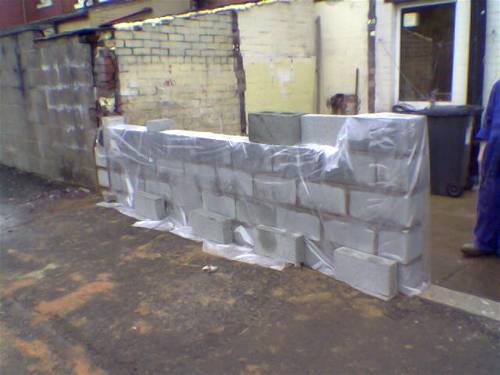
Have some waterproof sheeting at hand for when it starts to rain. Ensure the block work is kept dry until the mortar has hardened. When building this wall we got rained off several days in a row and it was very frustrating!

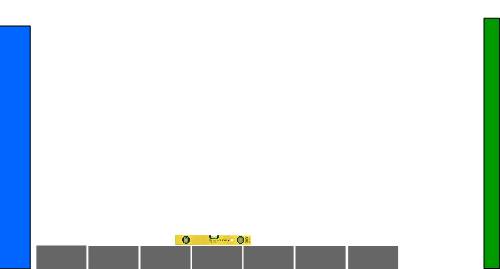
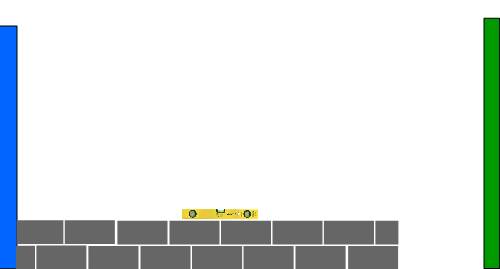
This shows the starting point for the first block. The blue wall is the neighbours wall that we are building up to and the green wall is the wall where the back gate will be hung. Start by mixing the mortar for laying the blocks and then lay a bed of mortar on top of the levelled out concrete, the depth of the mortar should be one - two inches. Ensure that the first block is level and that it is inline with the existing wall that you are building up to, use a string line as in the picture above.

Check each block and ensure that it is level before moving onto the next block. In this instance we will start all new rows on the right hand side because it is much easier to have the cut pieces where the new wall joins the old wall.
Ensure that the ends of the blocks are covered with mortar before laying them together. Bed the blocks down firmly into the bed of mortar and ensure that each block is in line with the string line and that each block is level.
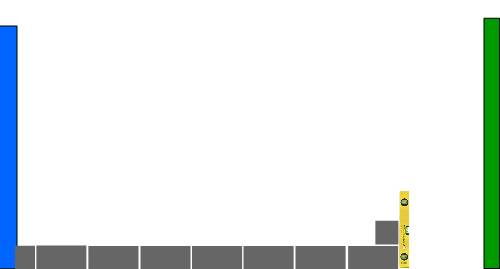
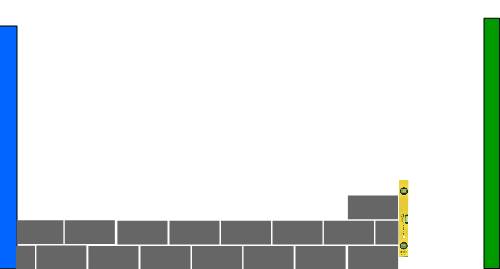
When starting the second row you should start with half a block/brick and ensure that it is perfectly in line with the row below and that it is level. Face the cut side of the block/brick to that the cut side is covered by the next block to be laid. This ensures that the exposed corner looks as good as possible.
Here you can see the starting point for the second row of blocks/bricks.
Continue laying the blocks/bricks and ensure that they are always in line and are level. The depth of the joints should be between 10-15mm.
On the next row you would start it with a full block again and keep repeating this process until you get to the desired height. Once you have reached the desired height you can cap the wall off using capping stones.
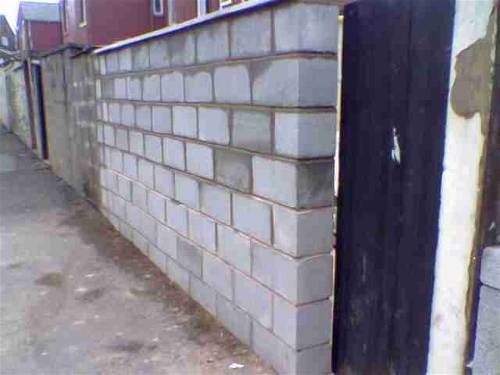
This is the finished wall. The next project is making a new door!