

Here are the instructions on how to fit a bath, it is essential when fitting a bath that the bath is fitted correctly as a poorly fitted bath can leak and cause damage to the fabric of the building. This article shows how to fit the actual bath and does not show how to fit the bath waste fittings or the taps as this is covered in other articles. It's a good idea to tile down to a bath rather than trying to tile up from the top of the bath, then the gap between the tiles and the bath can be sealed with silicone sealant.
Before fitting your new bath it is a good idea to read the instructions that came with the bath (if you have them). There are a few different types of baths and they all install differently.
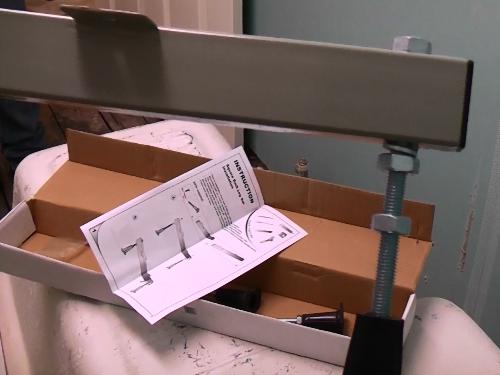
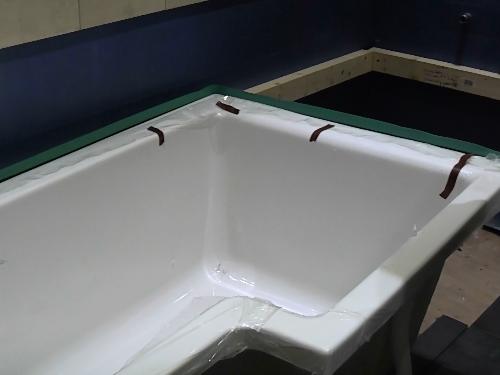
This bath is an L shaped bath and is designed to be used as a shower bath, so one side is much wider so that there is plenty of room to shower. Start by fixing the feet to the bath legs as shown in this picture (you do not need to do this with all bath legs) Ensure that the protective film and cardboard are left on the bath for as long as possible, you will require two people to lift and turn the bath over!
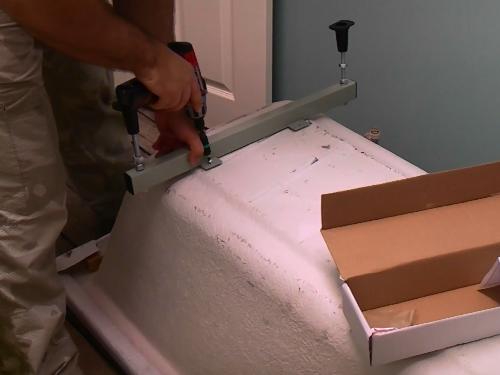
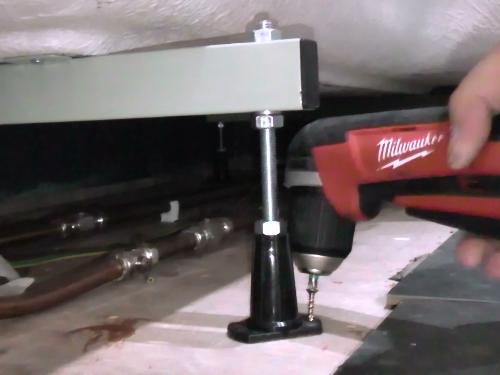
Now fix the bath legs to the bottom of the bath ensuring that the correct screws are used. The bath should be marked so that the screws can only go in the marked positions. If using an electric drill driver to put the screws in, ensure you use a low torque setting.
The height of the bath should be determined by the bath panel, so you need to measure the height of the bath panel and then adjust the height of the bath so that the panel fits under the bath lip without having to cut it down.
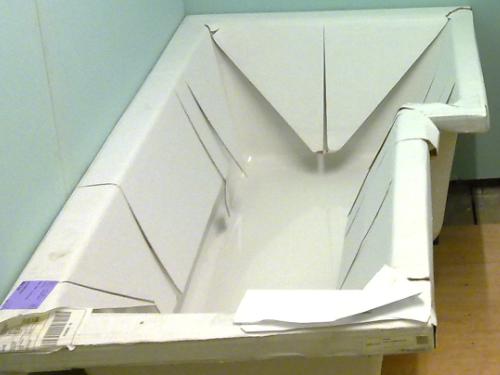
This shows the bath in position with the cardboard still intact.
Before you level the bath you will have to remove the cardboard.
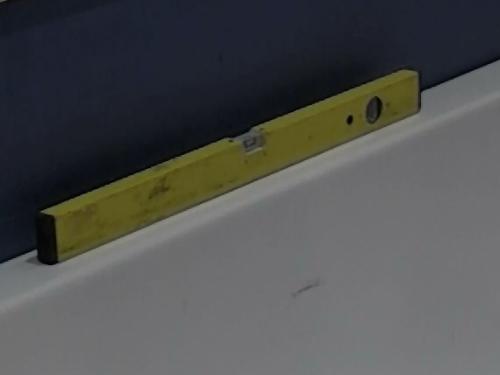
Use a spirit level to level the bath in all directions. If the bath is not level it will not drain correctly, you can adjust the level by adjusting the feet under the bath.
Ensure that all 4 feet are touching the floor!
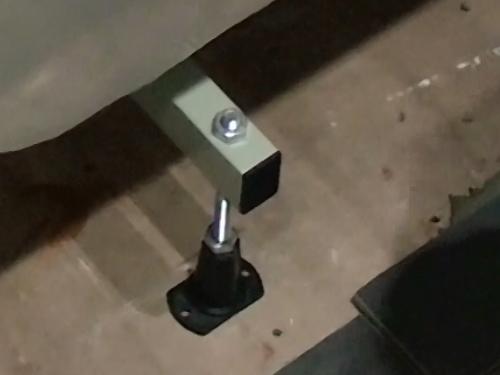
The bath feet can be adjusted to raise or lower the level of the bath. Once the bath is set to the correct height and is level you can use a spanner to lock the nuts.
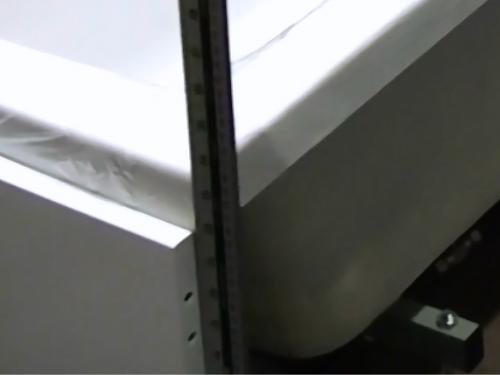
Ensure that the bath is pushed close to both walls and then draw a line along both walls using the top of the bath as a guide.
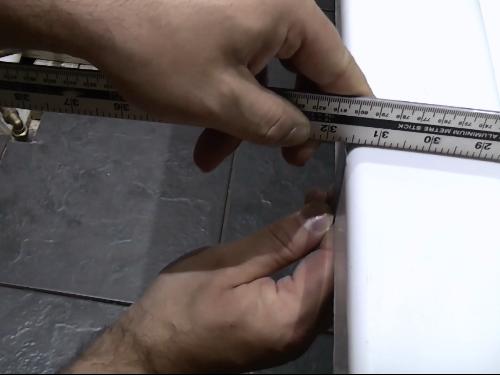
Now measure the depth of the bath lip and mark this below the line you have just drawn (you will have to remove the bath to do this)
Fix 2 suitable battens along both walls on the bottom of the two lines that you just marked. You can use slate batten, 2*1 timber or even 3*2 timber. Here we have used 3*2 timber as we had some left over from a previous job.
This batten will form a lip for the bath to fit on and will help to support the bath. If you are fitting a sealing strip that goes under the tiles now is a good time to fit this.
Put the bath back into position and then level again using the spirit level, once you are certain it is in the correct position you can then screw the feet down to the floor.
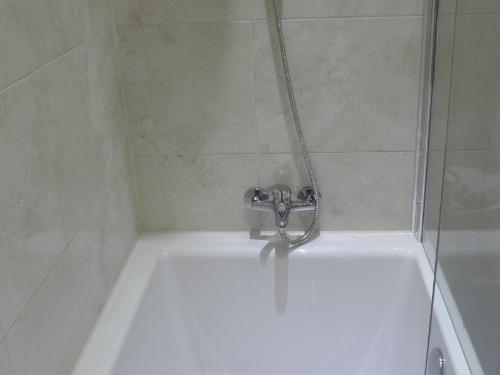
Now you can tile down to the bath and seal the gap between the bath and the tiles with silicone. You can also fit any shower screens etc. and the bath panel.