

In this article we are installing a quadrant resin shower tray into the corner of a bathroom.
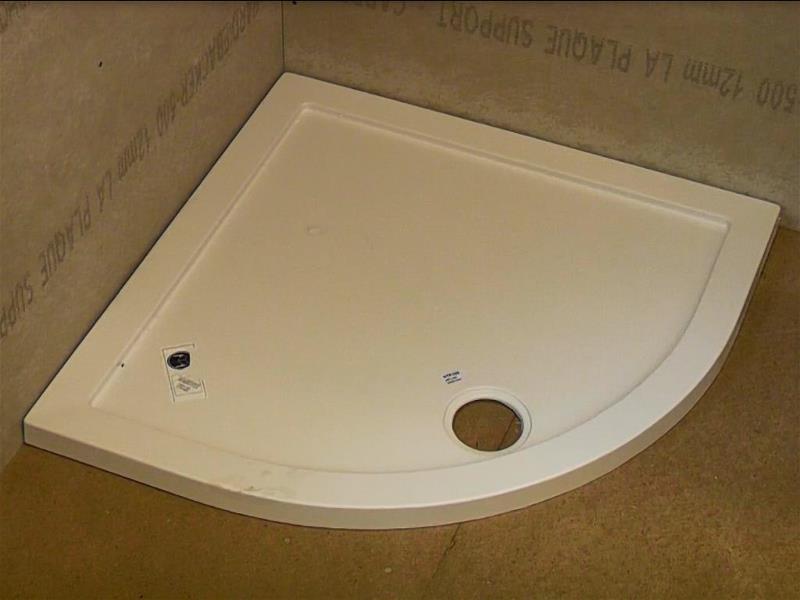
Here we are installing a quadrant shower tray onto a wooden floor. To start with you need to ensure the area is suitable for the shower installation, so the walls should be tanked or be constructed from cement based boards. Place the tray in the corner and draw around it using a pencil, also draw around the waste outlet.
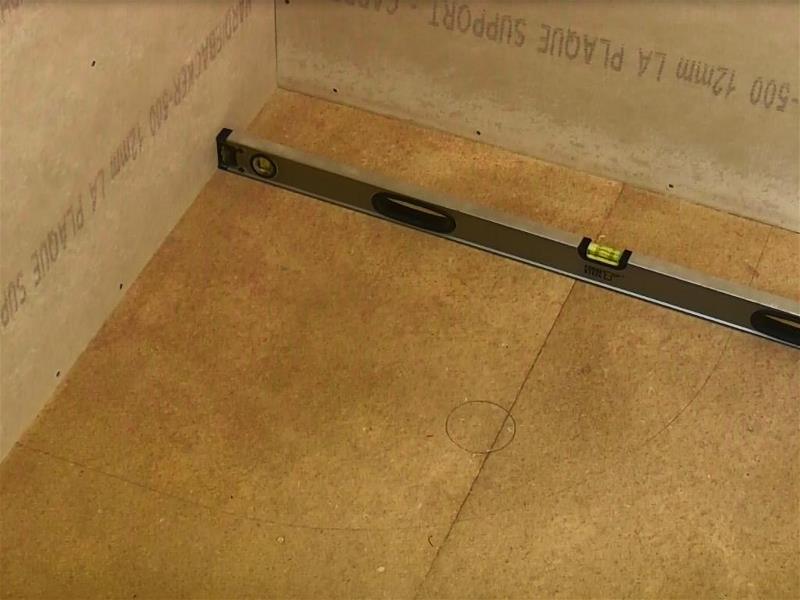
Check that the floor is level using a spirit level in both directions before continuing
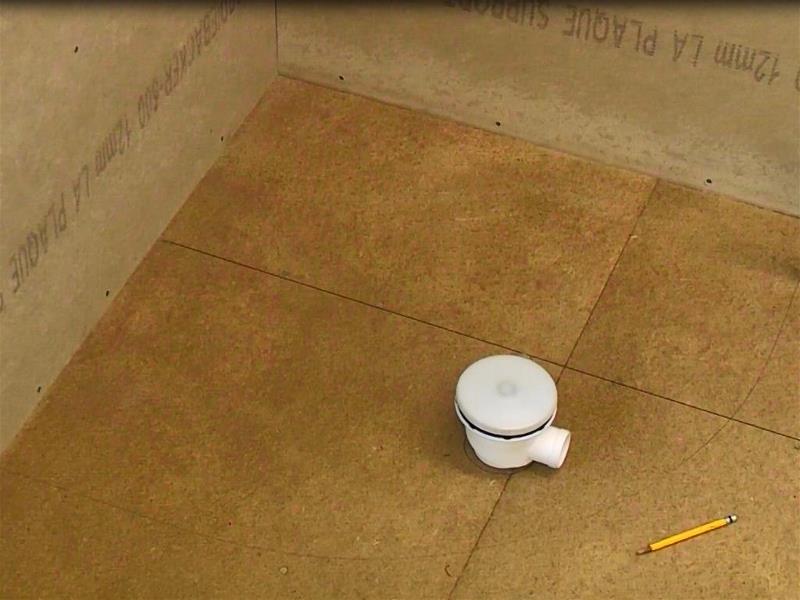
Place the waste trap in position and point the outlet in the direction of the waste pipe below the floor, then draw around it.
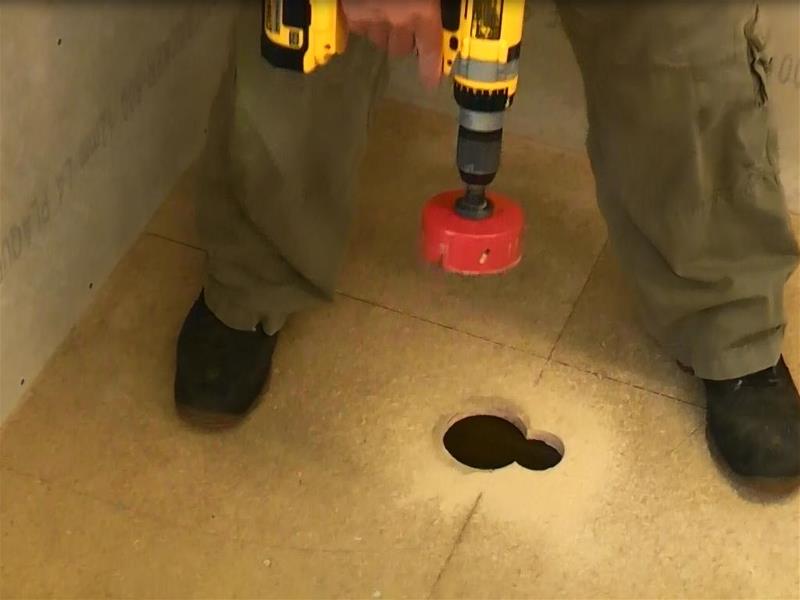
Now using a hole saw or jigsaw cut a hole large enough for the waste trap to fit through.
Ensure no pipes are cables are in the way when cutting this hole.
You can now seal the area where the tray is to be positioned using a suitable sealer, such as SBR

Mix the mortar as per the shower tray manufacturers recommendations, in this instance it was 5 sand to 1 cement by volume. How to mix cement can be found here- Mix cement
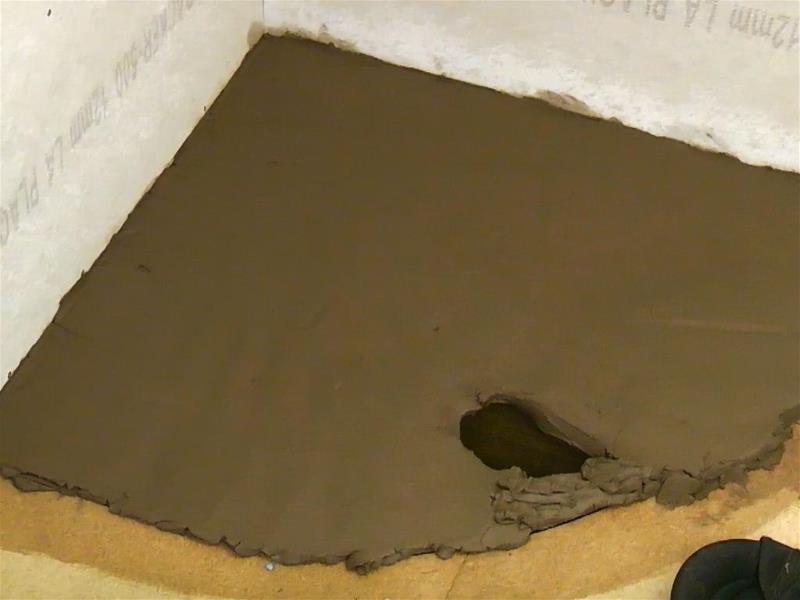
Apply the mortar and level it out using a plasterers trowel, to just above the depth recommended by the tray manufacturers.
Install the waste trap to the shower tray ensuring the waste outlet pipe is in the correct orientation. How to install the waste can be seen here- How to install a shower waste trap
Now you can remove the masking from around the edges of the tray (it's best if the masking is left on as long as possible for protection).
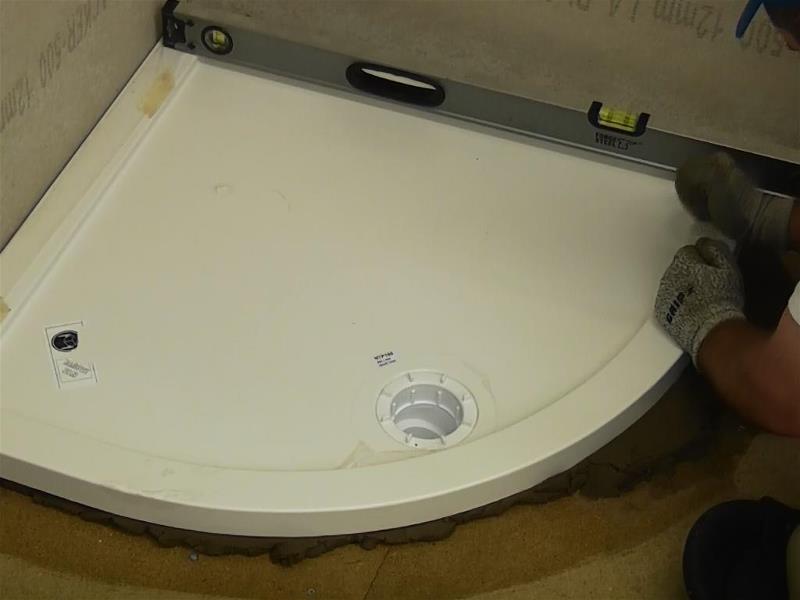
Carefully bed the tray on the mortar and level it using a spirit level, once the mortar has hardened you can seal around the edges using a good quality sealant. Another better option is using a bath sealing strip