

How to install a self cutting tap
Fitting a self cutting tap is often an easy option, but be aware that some of these taps can give reduced flow and so they although they are easy to fit they can have drawbacks.
A self cutting Tap can be extremely useful. They can be used for simple jobs like plumbing in Washing machines and dishwashers but could also be used to drain down a central heating system ( where a drain valve has not been fitted ).
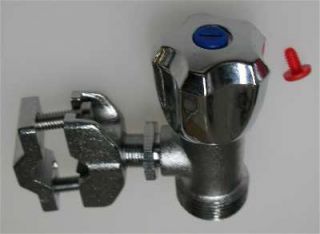
This is the self cutting tap, you can see that it comes with a blue and a red plastic indicator to signify whether it is being used for hot or cold water
This tap is designed to fit 15mm Pipe and should not be used on any other diameter. These can only be used on copper pipe and should not be used on plastic pipe. Start by unscrewing the Tap from the back plate
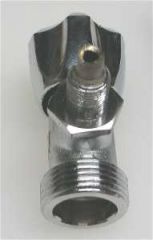
Here you can see the cutting section of the tap.
At this point ensure that the lock nut is screwed so that it is against the body of the tap as shown in this picture.

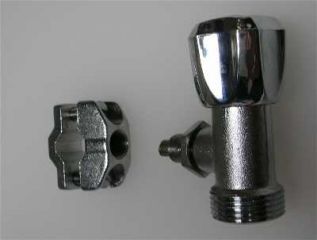
These are the other components which make up the body of the self cutting tap.
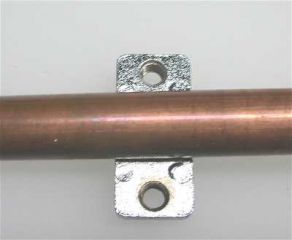
Now place the back plate behind the pipe
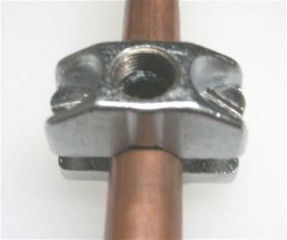
Then line up the front section ensuring that the rubber washer is in place. Insert the two machine screws and tighten both screws equally using a suitable screwdriver. If you do not tighten both screws equally the unit may not seal correctly!
Ensure both screws are tight but do not over tighten or you could crush the pipe.
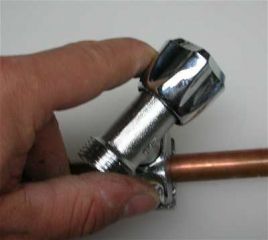
Now ensure that the water is isolated to the pipe that you are working and place a bucket underneath the Tap and drain down the pipe if possible. Slowly screw the tap into the threaded hole until it becomes stiff to turn and get the tap in the correct position, which will probably be pointing 90 degrees to the pipe itself.
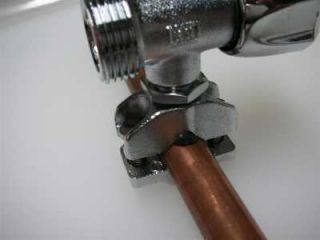
Here you can see that the two screws holding the body of the self cutting tap together have an equal gap between them. The Tap is also at 90 degrees to the pipe, so that the handle is not inline with the pipe
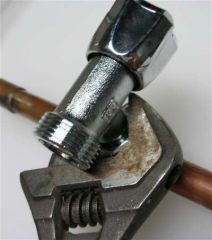
The locking nut now needs tightening to prevent the tap from moving and working loose. To do this hold the tap with one hand whilst tightening the lock nut with either the correct size spanner or an adjustable spanner, the lock nut will turn clock wise to tighten it.
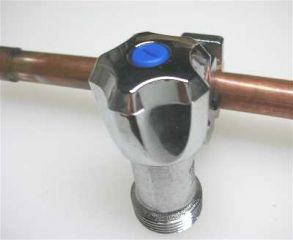
The tap will look like this when finished, this tap is on the cold pipe and so a blue insert has been screwed into the top of the tap for easy identification.
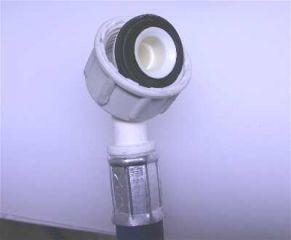
Ensure that the washers are in place before connecting the service pipes to the Tap
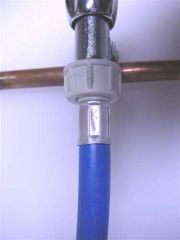
Now tighten the service pipe to the Tap by hand. Connect the other end of the service pipe to the appliance and then restore the water slowly. Check for leaks and re tighten if necessary.