

A loft hatch is very useful as it allows access to the roof space from within the house, most hatches are small and often need replacing with a larger one especially if you are going to fit a loft ladder. Fitting a new hatch is relatively easy and should only take a couple of hours. Start by making a larger hole for the hatch - Making a loft hole
Now that you have enlarged your loft hole you are going to need to make a hatch which will either have a hinged door or a simple removable cover, the best way to do this is to make a hatch on the floor and insert it into the hole and simply screw it into the beams, this is far easier than trying to make the loft hatch in situ.
Start by measuring the hole that you have just made, we are firstly going to make a simple box slightly smaller so that it will fit inside of the hole that we have just made.
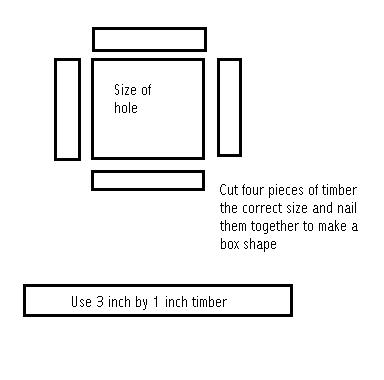
Basically you need to make a timber liner that fits in the loft hole, to do this cut 4 pieces of timber to the correct size and then using butt joints you can join the pieces together. If you have a decent saw you can use mitre joints if you like. Ensure the box shape is kept square.
The timber needs to be about 1 inch think by whatever depth the joists are.
If you are opting for a simple push up lid cut out four pieces of 1 inch by 1/2 timber and nail it on to the inside of the box to make a lip for the lid to sit on.
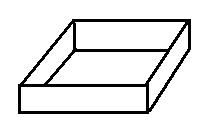
The box will looks something like this
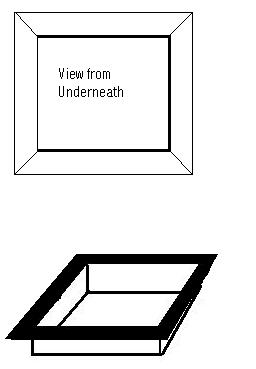
Now cut four pieces of architrave to the correct length, mitre each corner and nail it to the box that you have just made.
You now have a loft hatch which simply needs holding up and screwing into position! If you require a hinged lid simply cut a piece of plywood the correct size and hinge it on one edge and fit a catch to hold it shut.