Phew, don't know why I was getting so worried, it's pretty easy really

I'll detail what I did as a guide for anyone else who's in the same boat as I was. This is how I did it. I'm just a guy with a few tools who's had a go not a pro so this is not the definitive method, it's just to give you an idea it's perfectly possible for a diyer.
First, obviousley rip off all the skirting and old flooring. For the skirting I tried a moulding/pry bar but it was too narrow and put holes in the plaster when I tried to lever it off. I found a wide bolster chisel worked best.
Next take off the doors in the room your laying and cut all the architrave and door casings to allow the flooing to slide under so there are no untidy edges visible. Get a small off-cut of your soon to be laid floor, offer it up to the architrave then lay your pullsaw on top of it and cut the frame/trim to suit.
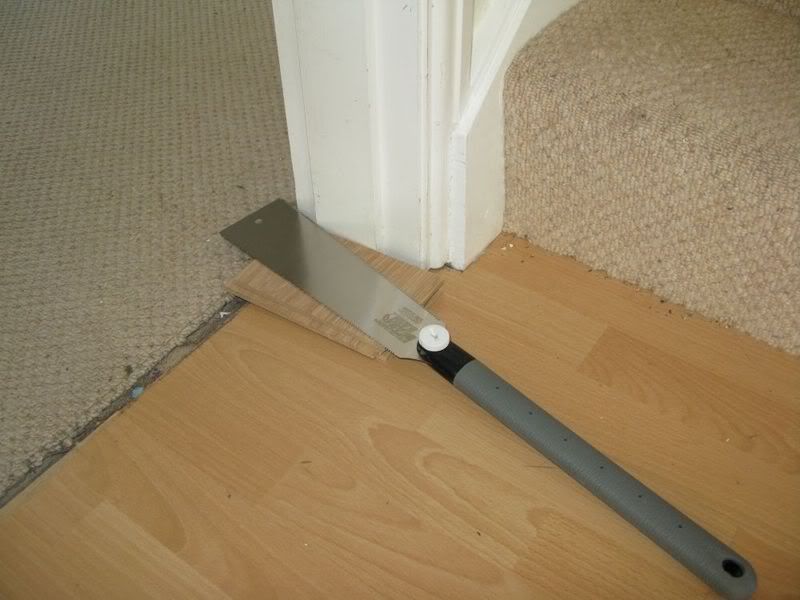
The photo is for illustration purposes, obviousley the old flooring need to be removed.
Now vacuum the room!
Right, time to mark out. I marked a datum line in the middle of the floor and worked from/to that as opposed to assuming the walls a were square and working from them.
Measure the width of the room (minus 20 mm to give you a 10 mm expansion gap at each wall) and divide it by the width of your floor boards. Now you know how many boards you'll be laying across the room. If it goes exactly your lucky, if not and it's say 14.75 then you have 2 options. Start with a full board at one side and end up with a 3/4 width board at the other or divide that 3/4 width board by 2 and have the same width part board at both sides.
Right, now measure the room at both ends. Is it square? Mine was pretty good.
Now ignoring the chipboard joins I used a laser to give me a datum. Initially I did this by eye pointing the laser down the length of the room and tweaking it untill it looked square by eye. It doesn't have to be dead centre. I then measured from the laser to both walls at the top and bottom of the room . I was surprised how accurate I was going by eye, I only had to move it a fraction to get it bang on square so that the right hand side top and bottom measurements matched as did the left hand side. Obiousley if you've not got the laser in the centre of the room you won't get 4 measurements the same, you'll get 2 measurements the same on each side IYKWIM. If the room's not square then split the difference on each side.
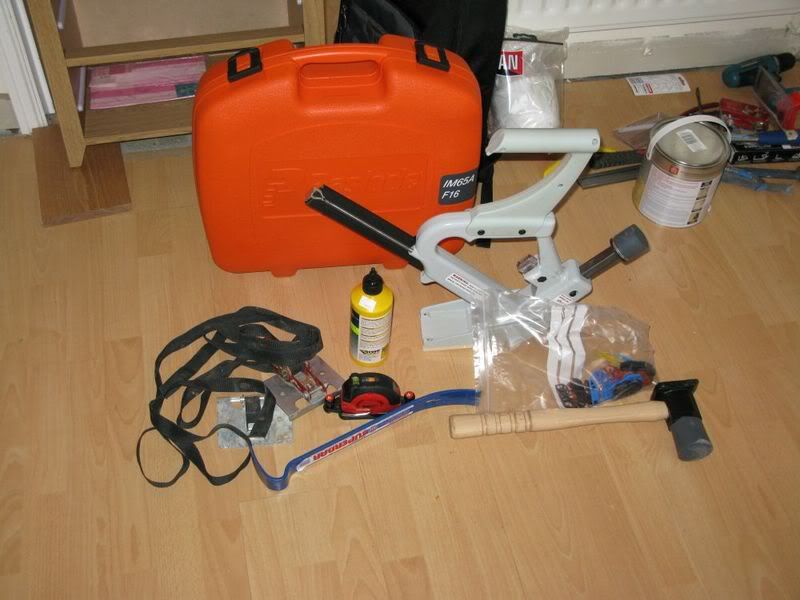
The beauty of using a laser is that you can adjust the line without getting chalk or pencil everywhere. I used a £15 job from screwfix, it's the red tape measure shaped thing in my heap of tools.
Once your happy with your datum mark on the laser line in pencil at the top and bottom of the room. Next use a chalk line to mark the datum.
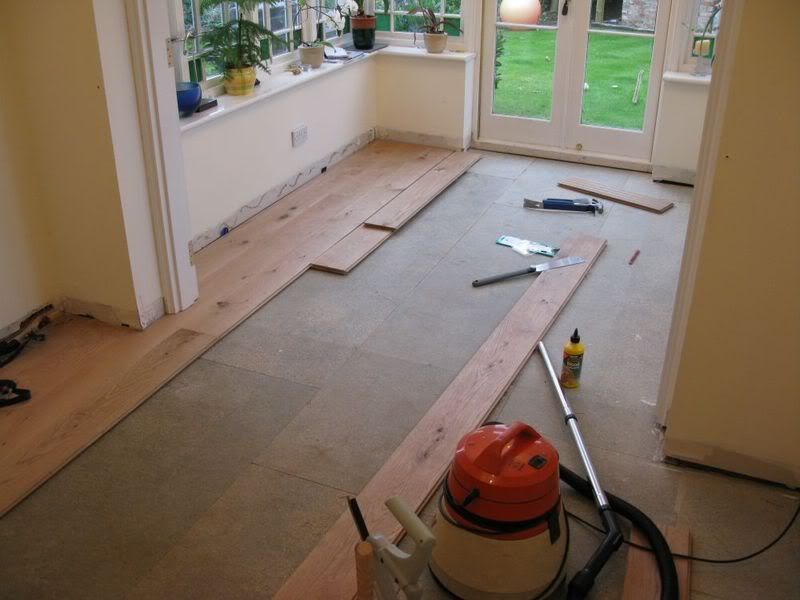
Now you're off. Put your first board down against the wall leaving a 10mm gap and measure to the datum. (working left to righ as you look down the room with the groove to the wall and the tongue to the centre of the room) Is it square to the datum? If not rip it down to suit untill it is. Is it square now? Yes? OK, take a deep breath, keep it still and nail it down. Measure again. Still square? Yes? Phew, your lauging teacakes. Do the same all along the L/H wall untill you're one board off the wall all the way down. as you lay the ends of the boards together put a bead of PVA along the tongue of the fixed boards before you tap the next board up to it. Wipe the excess off with a damp cloth. I used a portanailer to fasten the boards down but like a muppet i didn't get the face nailing kit. I thought I'd drill screw then plug the boards which I could'nt get with the nailer. Not the neatest or easiest idea in my room as I found out so I bought a paslode as I couldn't get hold of a face nailer locally.
Now just start at the top and work your way down the room one board at a time. Some of the boards may be slightly wider or narrower than others (1mm or so) which will be evident looking at the end joint. To counter this make sure that on the next row you lay a long board beside the two different width boards with the join in the middle of the long board. This will help stop you ending up with stepped out of tru effect. Keep measuring up to the datum to check you're square.
A few tips
Use an off cut as a drift to tap the boards together, it will stop you bruising the tongue.
Ratchet clamps (like ratchet straps) are handy for pulling slightly bowed boards up tight to the one you laying against.
When you've laid yoir first row of boards, pack out the gap between the wall and the board to stop it moving as you tap the next boards up to it. I used plastic shims from screwfix (the horse shoe shaped things).
Offer up each board in the row (top to bottom) and check they fit together (as a complete row) before you nail them down.
I didn't use building paper as a chippy I spoke too and the builders merchants said on a newish dry house there is no need. If you do need it organise it in advance as nowhere near me stocked it.
Take your time and measure everything twice.
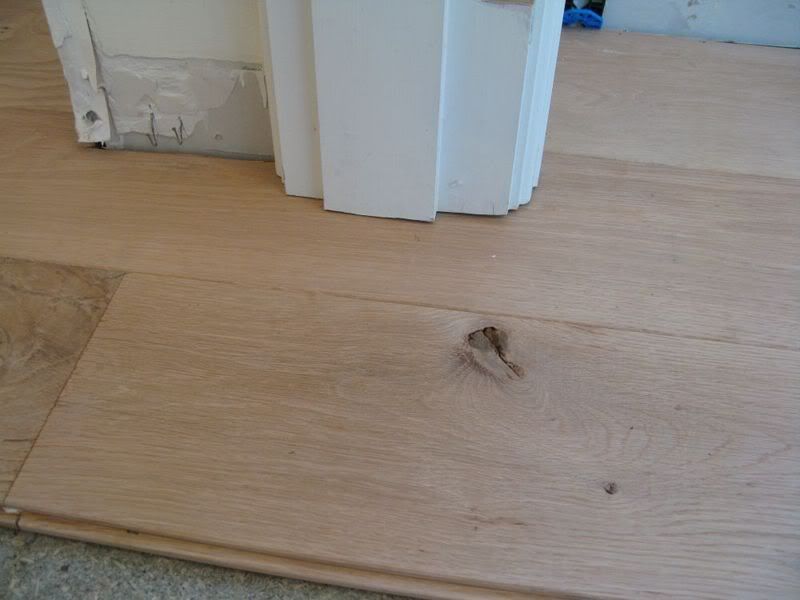
Stop when you get 2 boards away from a door frame or architrave you might have to lay 2 boards together to get them in. offer them up and make sure it fits ok before you nail it down.
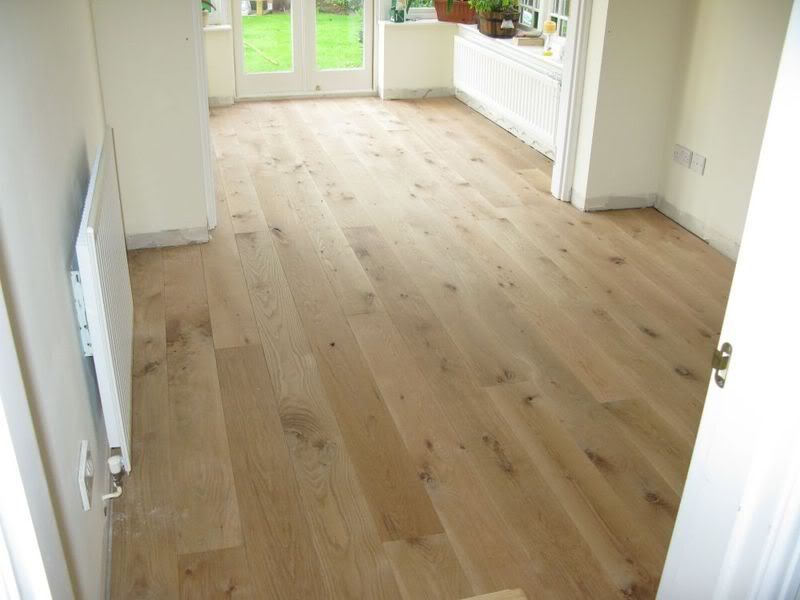
Bish bash bosh
Tools I used
Remember the above is just a rough guide. Please add your tips and suggestions to help anyone else who wants to have a go:occasion5:


