i will be the first to admit in no genius at home DIY yet!!!
My latest challenge is a 4 plate spot light set that needs putting up in my kitchen. here is the exact item - http://www.argos.co.uk/static/Product/p ... 322502.htm
my current roof light is just a normal shaded bulb - there is a rose in the ceiling.
I need to somehow mount this new unit in place of the old unit.
Does the entire rose unit come off to reveal a nice flat hole with just the wiring? this new unit seems to want to mount straight on the the roof.
new kitchen lights... a dilema i face!
Moderator: Moderators
- ultimatehandyman
- Site Admin
- Posts: 24425
- Joined: Sat Jul 16, 2005 7:06 pm
- Location: Darwen, Lancashire
- Has thanked: 1012 times
- Been thanked: 918 times
If you unscrew the ceiling rose cover, with the electric off like skiiking says you will be able to see the wires to the existing pendant. There could be 9 or more wires up there, so if there is do not remove any yet!
Check your new light fitting and see if it requires earthing, if it does and there is no earth wire at the ceiling rose then you cannot fit it as it could be dangerous.
Report back once you have counted how many wires are in the ceiling rose
Check your new light fitting and see if it requires earthing, if it does and there is no earth wire at the ceiling rose then you cannot fit it as it could be dangerous.
Report back once you have counted how many wires are in the ceiling rose
-
ban-all-sheds
- BANNED
- Posts: 418
- Joined: Fri Oct 27, 2006 5:40 pm
- Has thanked: 0
- Been thanked: 2 times
The cover of the rose will unscrew, (assuming it's not been painted over), exposing the wiring. The baseplate of the rose will be screwed to the ceiling. The hole where the wires come out is unlikely to be neat.
Count yourself lucky if when you have new light lined up according to where the wires emerge that
a) it covers the marks from the old rose
b) its mounting holes line up with the joists.
You need to make a very careful note, marking the cables, of what goes where, as you will have to know which cable is which when you come to connect up the new light.
Depending on the type of lighting circuit you have you could easily find, in addition to the wires for the old light itself, 9 wires connected into the ceiling rose, and it will not be a case of joining all the reds, all the blacks and all the earths together.
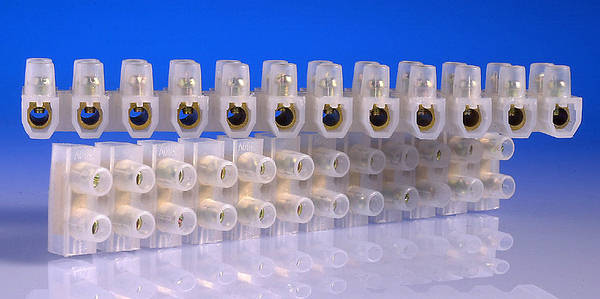
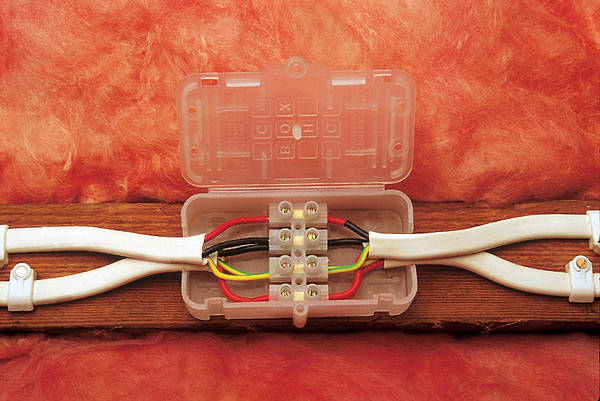
Also, if the new light has only got 3 terminals - Live, Neutral and Earth, then this may be insufficient, and you'll need some "choc-block" (and a box to put it in) for one of the connections.


You'll need to spend a bit of time coming to understand how lighting circuits are wired. There is a guide here:
http://www.ultimatehandyman.co.uk/lighting_circuits.htm
And these drawings may also be of use:
CEILING ROSE WIRING - STEP BY STEP
This shows you why there are the cables that there are at ceiling roses - it builds up step by step.
For clarity, the earths in the switch drops are not shown, but should be connected, and the cables are shown unsheathed.

The lounge and kitchen switch drops show the two correct methods - either using red/red or red/black with red sleeving on the black. The dining room shows what most people find, which is no sleeving.
For new harmonised cable installations, all the black wires in the diagram will be blue, and all the red wires, and the red sleeving, will be brown.
There are other circuit designs, such as the junction box method, and loop-at-switch. These are less common, but not rare, so if you don't find the above, post descriptions and/or photos here. Including what wiring is at the switch.
REPLACING A CEILING ROSE WITH A LIGHT THAT HAS ONLY L/N/E CONNECTIONS
I didn't make this, so don't blame me for the tape. Using a choc-box would be better...

Finally - if for some reason your lighting circuit doesn't have an earth, you won't be able to use that light (assuming it needs an earth - metal lights usually do).
Count yourself lucky if when you have new light lined up according to where the wires emerge that
a) it covers the marks from the old rose
b) its mounting holes line up with the joists.
You need to make a very careful note, marking the cables, of what goes where, as you will have to know which cable is which when you come to connect up the new light.
Depending on the type of lighting circuit you have you could easily find, in addition to the wires for the old light itself, 9 wires connected into the ceiling rose, and it will not be a case of joining all the reds, all the blacks and all the earths together.
Also, if the new light has only got 3 terminals - Live, Neutral and Earth, then this may be insufficient, and you'll need some "choc-block" (and a box to put it in) for one of the connections.


You'll need to spend a bit of time coming to understand how lighting circuits are wired. There is a guide here:
http://www.ultimatehandyman.co.uk/lighting_circuits.htm
And these drawings may also be of use:
CEILING ROSE WIRING - STEP BY STEP
This shows you why there are the cables that there are at ceiling roses - it builds up step by step.
For clarity, the earths in the switch drops are not shown, but should be connected, and the cables are shown unsheathed.

The lounge and kitchen switch drops show the two correct methods - either using red/red or red/black with red sleeving on the black. The dining room shows what most people find, which is no sleeving.
For new harmonised cable installations, all the black wires in the diagram will be blue, and all the red wires, and the red sleeving, will be brown.
There are other circuit designs, such as the junction box method, and loop-at-switch. These are less common, but not rare, so if you don't find the above, post descriptions and/or photos here. Including what wiring is at the switch.
REPLACING A CEILING ROSE WITH A LIGHT THAT HAS ONLY L/N/E CONNECTIONS
I didn't make this, so don't blame me for the tape. Using a choc-box would be better...

Finally - if for some reason your lighting circuit doesn't have an earth, you won't be able to use that light (assuming it needs an earth - metal lights usually do).
I'm sorry - I can't come in to work today, the voices are telling me to stay at home and clean the guns.
[size=9][color=white].[/color] [/size]
