Dry lining back boxes are a fast and easy way to fix an electrical accessory to a plasterboard wall or ceiling, these can often be fixed in a matter of minutes with minimal tools-
| Before working on any electrical circuit you must ensure that it is isolated correctly and cannot accidentally be switched back on. Please read the article on safe isolation procedures before doing any electrical work. If you are not 100% certain what you are doing call a qualified electrician. Building regulations are changing all the time and modifying your home electrics could be against new rules and could invalidate your home insurance, if in doubt check first! |
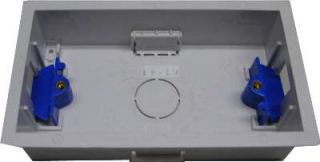
If you need to fit a new electrical accessory onto a wall that is made of plasterboard a dry lining box like this would be used
These dry lining mounting boxes are very easy to use and sit flush against the surface of the wall, in this example we are fitting a double accessory box.
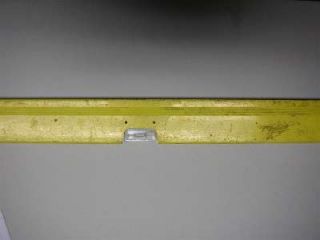
Start by measuring the height that you want the accessory box to be fastened at and draw a line, ensuring it is straight by using a spirit level.
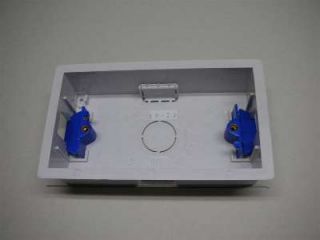
Now hold the accessory box on the line an draw around it using a pencil or suitable marker. Ensure that the lugs (blue) of the box are pushed into the accessory box as shown in the picture.
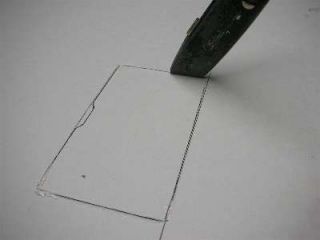
This piece of plasterboard needs removing with a suitable tool. Here we are scoring the lines very deeply with a sharp Stanley knife, after a few passes the blade will cut right through and produce a neat cut out. You can use a plasterboard saw or a rotozip if you prefer, although it is very easy with the Stanley knife.
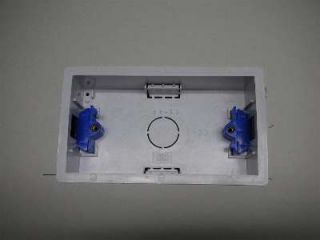
Ensure that the lugs are pushed into the accessory box and push the accessory box into the hole that you have just cut. If the hole is a little small you can shave off some plasterboard with the knife.
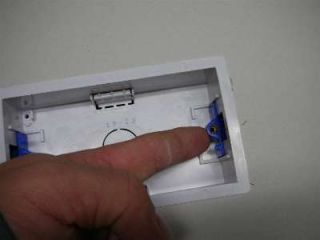
Now push the lugs with your finger so that they go behind the plasterboard. Now pull the lugs forwards towards the front of the accessory box. When the accessory is wired and the accessory is in place the screws go into the lugs and pull them tight against the plasterboard.
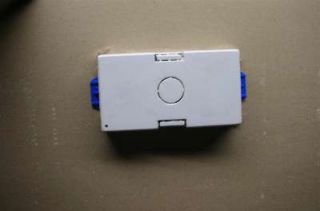
This is what the accessory box will look like from behind. As you can see the lugs grip the plasterboard once the accessory screws are tightened.


