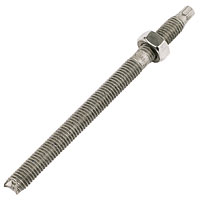
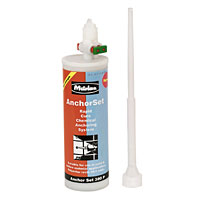
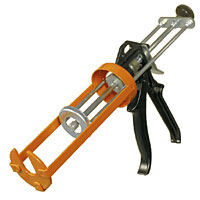
Resin fixings can be used on concrete and masonry and have the advantage that there is no expansion force so that they can be positioned close to the edge. They can also be used in damaged masonry as the resin used does not expand but actually bonds to the substrate.
Using Resin Fixings
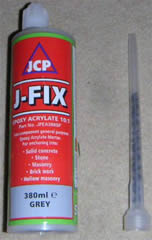
There are a few different types or resins available. One of the most common is polyester based. The tube contains 2 parts, one the resin its self, the other is the hardener. When the two come in to contact and mix together they start a chemical reaction which causes it to set very hard. As the mix is pushed out of the tube it gets mixed in the nozzle which contains a double spiral to help it mix evenly.
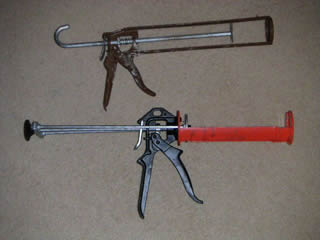
Some tubes will fit a standard cartridge gun (silicone gun) these are generally 300mm size. The larger tubes, 380mm, require a special applicator gun. There are even tubes that don’t need to be used with any gun, but these don’t contain as much, so work out far more expensive, unless its being used on a one off job.
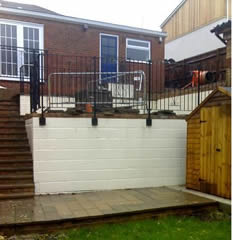
Resin systems are great for fixing into poor masonry, or close to edges where standard expanding fixings would be likely to damage the wall, by cracking the side of a block off for example. It is suitable for use in virtually any masonry, bricks, concrete blocks, natural stonework. This is a step by step guide to using a resin anchor system. For this example I was installing some railings to a garden retaining wall. I decided to use resin as the fixing points were very close to the block joints, even in them in some case.The actual fixing is a stud (threaded bar) of the desired length, with nuts.If you are cutting your own from a length of studding. Cut the protruding end square and remove any burrs where the nut goes on. The other end should be cut at an angle to help prevent it turning in the resin (although unlikely)You will need to drill a hole larger than the diameter of your stud, eg, for a 12mm stud you need to drill a 14mm diameter hole.It is a good idea to wear gloves when working with resin, as any residue will be difficult to wash off you skin.
Always read the manufacturers instructions, and use them rather than this web page if they contradict.
Step 1:
Decide where you need the fixings and make sure they will be suitably positioned.
Work out how deep you need to drill, take care not to drill right through, in a situation like a cavity wall. If you do the resin will simply push through and fall out. You will need to fit a special resin sleeve- a plastic mesh plug or plug up the rear of the hole somehow with a wooden plug for instance.
Step 2:
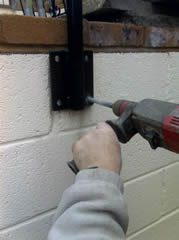
Drill the first hole, insert a stud to keep the fixings aligned if necessary, and drill the remaining holes.
Step 3:
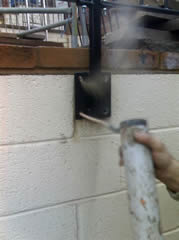
Once the holes are drilled you will need to remove any loose material and dust. A simple pump type tool is available. Insert the tube into the hole and give it a few pumps. Keep doing this until no more dust comes out.
Step 4:
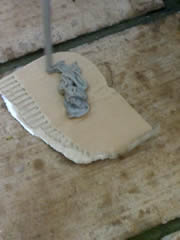
Load the cartridge into the gun, and screw on a nozzle. It is important to make sure its mixing properly before you inject it into the holes. it’s a good idea to let some out onto a piece of cardboard of similar. Note the colour changes slightly when its mixing properly. For large diameter fixings cut off the nozzle to a larger size.
Step 5:
Before you start, make sure you have all your studs to hand and ready.
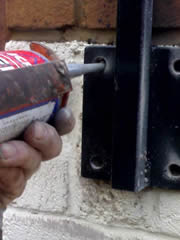
Inject the resin into the holes. You will need to take care not to put too much in. Some tubes have guides marked on the label. I find as a rule of thumb, fill the hole approximately three quarters full and you wont be far off.
Step 6:
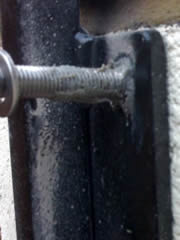
As you push the stud in the hole, give it a few twists, this will help to break any air bubbles up and also pushes the resin into any voids in the hole. If the stud keeps pushing itself back out it may need a few more twists. All the threads should have an even covering right up to the surface. Add some more resin if required.
Step 7:
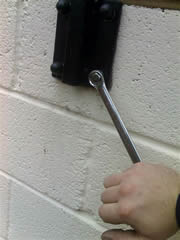
Once all the studs are in, you will need to leave them undisturbed for a while. This time period depend on the brand of resin as well as the temperature. The tube will have a guide on the label. A gel time, and a full cure time. You shouldn’t put loadings on the studs until its reached the full cure time. However, fixings that aren't under strain will be okay on the gel time, as long as you do not tighten the nuts.
Step 8:
As you push the stud in the hole, give it a few twists, this will help to break any air bubbles up and also pushes the resin into any voids in the hole. If the stud keeps pushing itself back out it may need a few more twists. All the threads should have an even covering right up to the surface. Add some more resin if required.
You can see how to use resin fixings in this video- resin fixings video


