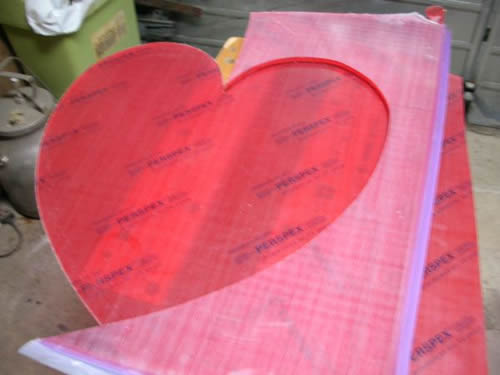
Here we are going to make a Perspex heart shaped table, this is a time consuming project but the finished article is well worth the time and effort-
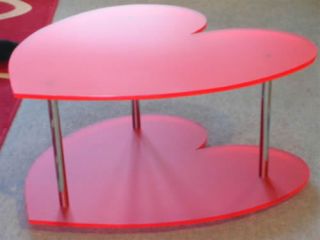
The Perspex used is 12mm thick double sided frost, colour code 4T50. The legs are made from 19mm chrome tubing and inside of the legs is stainless steel threaded bar. Stainless nuts hold it all together and then a dome nut is used for the feet.
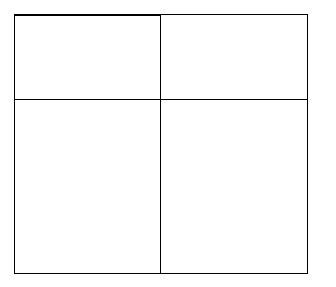
The first step is to draw an heart onto the Perspex that we are using. I have done this by drawing a square onto the Perspex and dividing it as shown here. A dry wipe marker is good for this as it can easily be removed if a mistake is made.
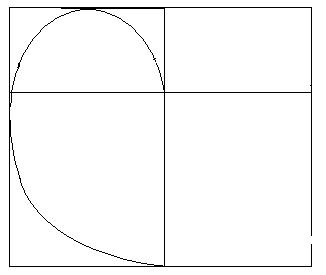
Now I have used a piece of PVC cloaking profile (which is a flexible piece of plastic) and I have used it to make a tight radius at the top and then a sweeping curve at the bottom to give me half of an heart shape.
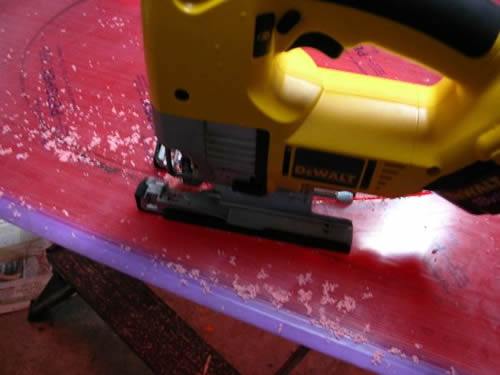
I am now going to cut out the half of an heart shape using a jigsaw with a metal cutting blade on a slow speed.
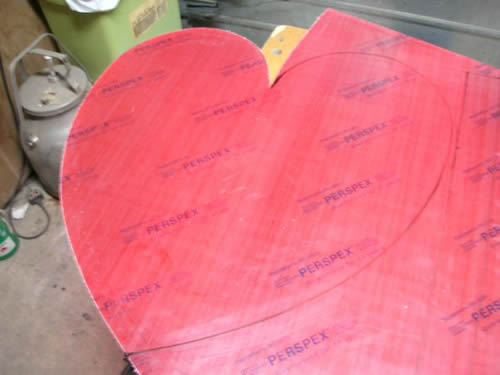
Here is the line that has been drawn on using a dry wipe marker. Now cut out this half of the heart using the jigsaw.
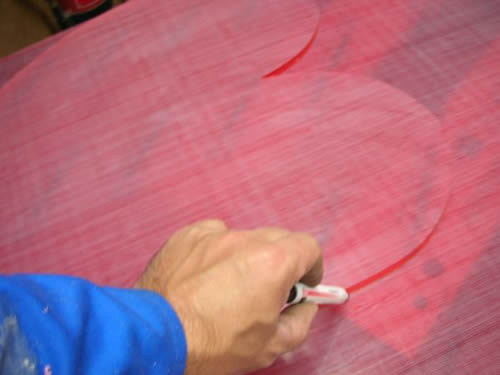
Now lay the heart onto the piece of Perspex and use it as a template. Always use a dry wipe marker as permanent marker may get onto the Perspex itself and could be difficult to remove. Now cut another piece of Perspex so that you have two identical pieces.
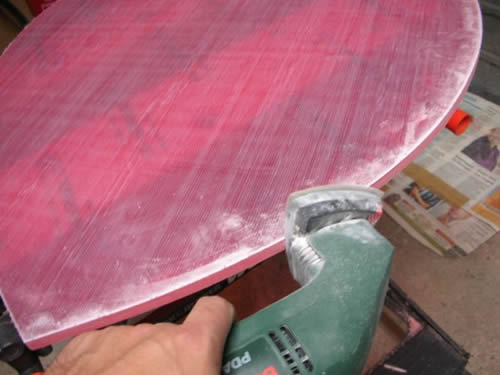
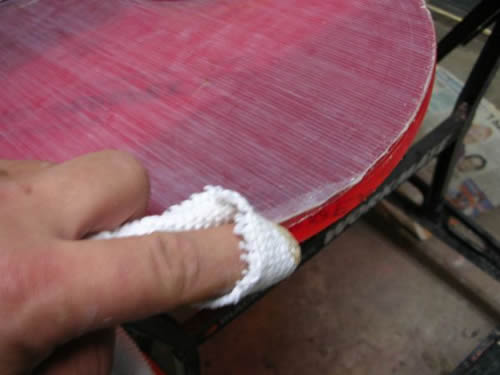
The edges of the Perspex now need sanding in order to remove the saw marks. Use an electric sander and a course sand paper.
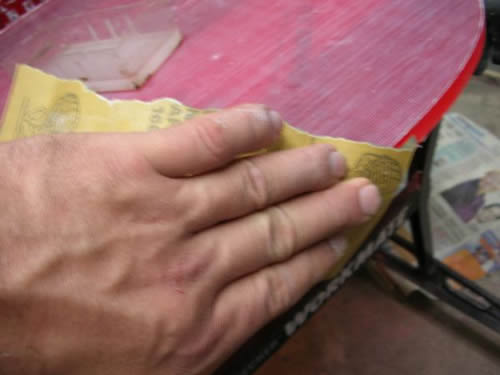
Now sand the edges using 800 grade wet and dry paper, using water as a lubricant. Then use a finer grade such as 1200 grade wet and dry paper.
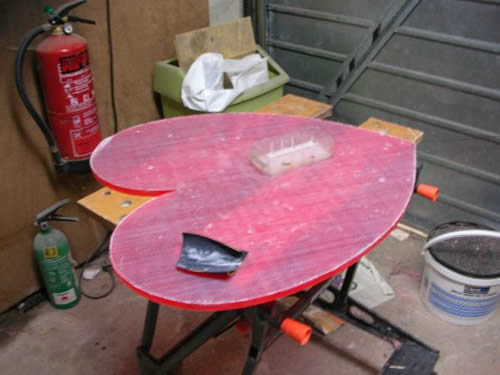
This is a messy, time consuming job. But it is worth the effort to get a good clean edge on the Perspex.
Mark three holes on the Perspex where the legs will be positioned.
The wider the legs re positioned apart the more stable the table will be. You can see form the first picture where I positioned the legs.
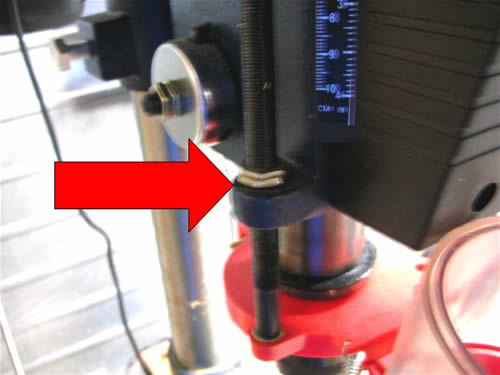
The bottom leaf or the table requires holes drilling all the way through, but the top only requires holes drilling approximately 8mm deep. Us the stop on the drill, which is marked with the arrow here so that the correct depth is drilled.
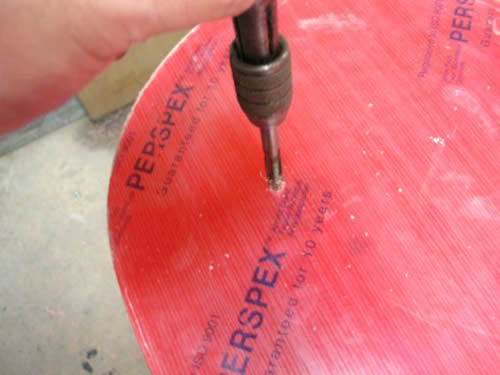
I used 8mm stainless steel threaded bar to make this table and so I have drilled the 8mm deep holes in the table top using a M7 drill and then tapped the holes using some water and a M8 tap. Thread all three of the holes in the table top.
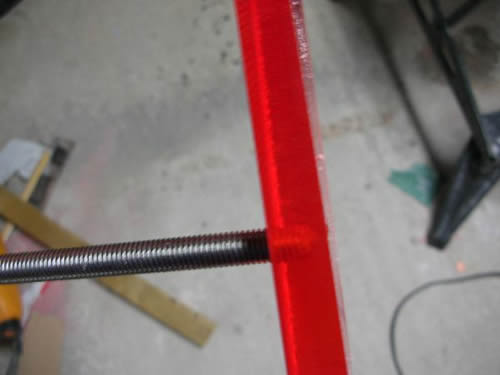
It is a good idea to practice drilling and tapping on a off cut of Perspex to ensure that the hole is drilled to the correct size and depth.
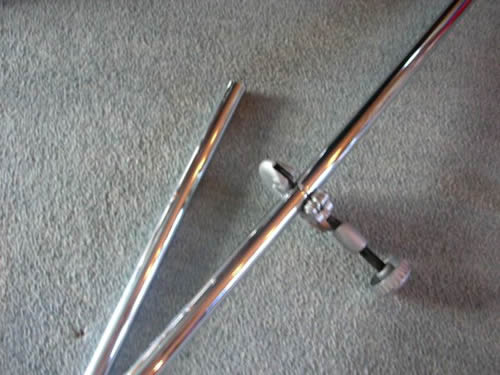
Cut three lengths of chrome tube to the correct length using a tube cutter. For this table we made the chrome legs 400mm long.
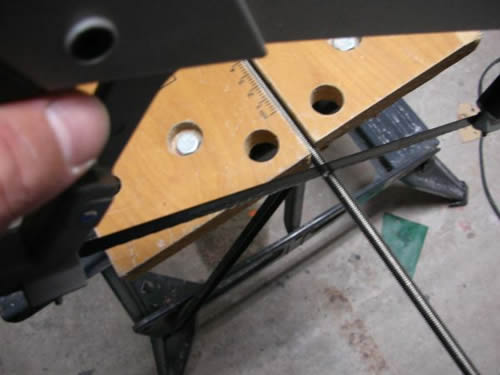
Cut the threaded bar slightly longer than you cut the chrome tubing as it needs to screw into the table top and nuts need screwing onto the bottom for the feet.
It is a good idea to screw some nuts onto the bar before cutting it, so position one nut at each side of the blade when you cut it. If you do not do this the threads may be damaged and you will not be able to use the bar unless you have a thread file.
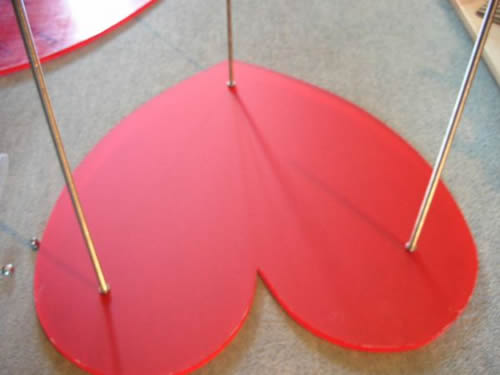
Remove the masking from the Perspex and lay the table top down so that the holes are facing upwards. Carefully screw the threaded bar into the holes in the table. Now put a nut on each of the lengths of threaded bar and wind the nuts a few Centimeters away from the table top.
Apply a small amount of super glue between the nut and the table top and nip up the nuts using a spanner. DO NOT OVER TIGHTEN!
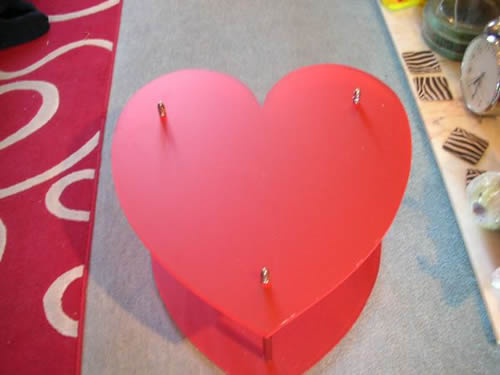
Wrap some insulation tape around the nuts to prevent the chrome tube from rattling on the threaded bar and then slide the chrome tube over the threaded bar.
Mark where the tube ends on the bar, remove the tube and then wrap some insulating tape around the bar to prevent the tube from moving. Slide the tube over the insulation tape and push all three tubes so that they are touching the table top.
Now place the bottom leaf onto the three chrome tubes, feeding the threaded bar through the holes in the leaf. Secure this with a few stainless steel nuts and for the last nut use a stainless steel dome nut so that it will glide easily.


