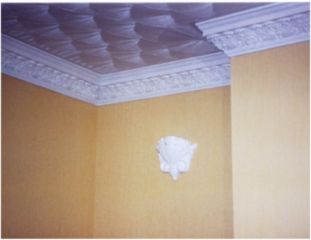
Decorative plaster mouldings were extremely popular in quality houses erected in the last century, many of these plaster mouldings were made on site as the house was being built! There are now alternatives to plaster such as polyurethane and polystyrene, having never used polyurethane I cannot comment but polystyrene often looks cheap and tacky.
When purchasing decorative plaster coving it is best to get it in as long a length as possible or you will end up with loads of joints which can be difficult to hide.

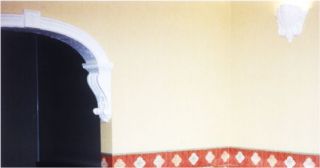
Although I will fix plaster wall lights, decorative ceiling roses and a plaster arch way, I would never attempt to fix decorative plaster coving as it is easy to make it look bad- This job is best done by a professional-
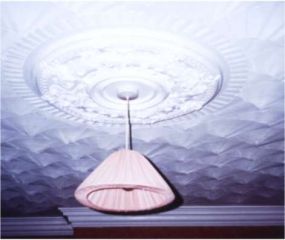
Decorative plaster ceiling rose
Fitting a decorative ceiling rose is an easy enough job but requires patience, be aware that some of these roses can be very heavy so you do not want to be holding them until the adhesive goes off!

Start by turning off the electricity and remove the electrical ceiling rose from the ceiling. Check my page on Lighting circuits pay attention to the bit about me preferring the junction box method. When you come to fit a decorative ceiling rose like the one above you will find it far easier if you only have 3 wires as opposed to nine wires on the Loop in system. If you remove the electrical ceiling rose and find you have a loop in system, I suggest you change it for a junction box system unless you are confident that you can rewire the ceiling rose afterwards!
Some plaster ceiling roses do not have the hole made for the wire to pass through so if you need to make a hole drill one carefully with a flat wood bit. You are now ready to fix the decorative ceiling rose in place, Coving adhesive is very good for fixing this type of thing as it has very good suction but any good quality cartridge adhesive will work. You can purchase special adhesive but it will be at a premium, if possible use coving adhesive as you can mix it to the required consistency. It is a good idea to paint some PVA bonding onto both the ceiling and the decorative ceiling rose, let this dry before mixing the coving adhesive. If the ceiling rose is heavy you have two choices- Use a couple of plasterboard screws to hold the ceiling rose! Use a extendable prop to hold the rose until the adhesive has gone off! Personally I'd use the two plasterboard screws and I'd countersink them into the rose and fill the holes afterwards. You can now mix the adhesive and apply it using a spatula or scraper to the decorative ceiling rose, if the back if the ceiling rose is concave only apply the adhesive to the high parts. Apply the adhesive evenly to a thickness of about 5mm than offer the decorative rose up to the ceiling making sure you pass any wires through the centre, push the decorative rose into position and secure with two screws then fill the holes, if there are any gaps around the decorative rose fill these also. Reconnect the electrical ceiling rose and reconnect the electricity. If the decorative rose needs painting wait at least a day for the adhesive to harden fully.
Plaster Arches

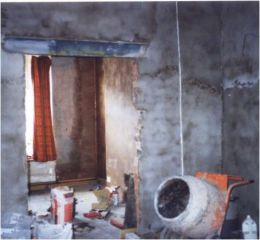
When I renovated this property I never realised just how much work was involved, you only find out once you strip the wall paper. This wall below was wall papered and had a window in it, on removing the wall paper I found there was no lintel above the window and that it is a load bearing wall.
I installed a lintel and then plaster boarded the entire room and fitted a plaster arch. Install a Lintel


