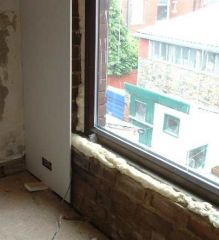
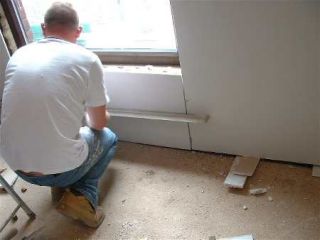
Plasterboard can be attached by three methods, either mechanically (with screws), chemically with dry wall adhesive or by using dry wall fixing foam. Fixing using dry wall adhesive is known as dot & dab or the direct bond method. Dry wall has several advantages over screws as it can be bonded directly to bare bricks which gives considerable speed advantages, also the fact that if a wall is bonded with plasterboard, there is little "making good" afterwards as there are no screw holes. It is simply a matter of bonding the boards to the wall, taping the joints with scrim and then filling the joints. Board finish can then be painted on the boards and that is it!
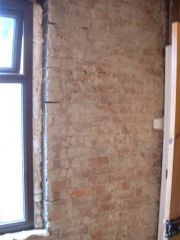
Here we have a wall that is going to be dabbed ( a term for the direct bond method). All previous plaster has been removed and a new window has been fitted.
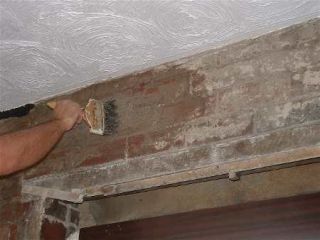
The wall needs a good application of PVA bonding, which should be diluted to the manufacturers recommendation. Paint this all over the wall using a large paint brush and allow to dry.
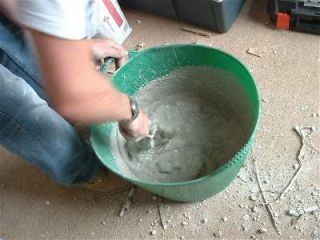
Mix the dry wall adhesive in a bucket by firstly adding clean water to a clean bucket, then add some dry wall adhesive and mix until you have a thick creamy consistency. Remove a trowel full and place it onto a plasterers hawk and it should be firm and not runny, if it is runny add some more dry wall adhesive until it is sufficiently stiff.
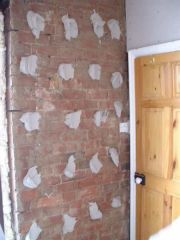
Dab the wall with adhesive using a trowel or float approximately every 12 inches. So for example a 8*4 sheet would have eight dabs up by four dabs across. The dabs should be quite thick as they have to even out any irregularities in the wall surface.
Just out of shot on this picture is a solid line of adhesive, just below ceiling level.
This solid line of adhesive must be applied to satisfy the Building regulations in case there is ever a fire.
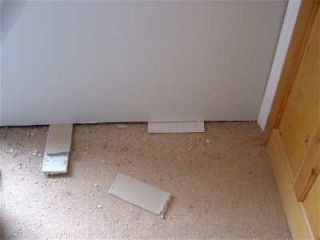
If you are using the direct bond method downstairs or in places where there could be rising damp be sure to leave a 3 inch gap below the plasterboard. Here we are dry lining a upstairs bedroom but we have still used packing pieces to level the board. This gap will be covered by the skirting board.
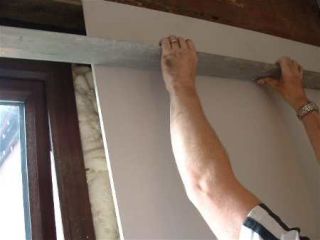
Be sure to cut the board to the correct size and cut out for any sockets or switches etc. Offer the board to the wall and ensure the board is straight and flat using a feather edge or a large spirit level.
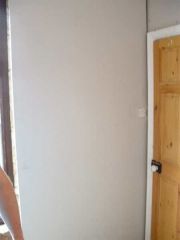
Here you can see that the board has been applied to the adhesive and that it flat to the wall and square. Now smaller pieces need cutting to finish off the wall.


