Isolation valves (often called service valves) should be fitted before any appliance in order for that appliance to be serviced without having to isolate the water supply to the whole house. Appliance means any item that is permanently connected to the water supply such as taps, showers and toilets etc.
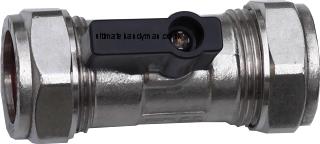
Isolation valves come in two basic designs, the cheapest and most common type uses a slotted screw to isolate the water. This isolation valve has a handle which makes isolating the water much easier but kids tend to like playing with these!
If the plumbing in your home is old then you may find that much of the plumbing does not contain isolating valves, if this is the case it is a good idea to fit isolating valves, perhaps when you turn off the main stopcock to the property as it makes working on any appliance in the future much easier. Here we are fitting an isolation valve with a small lever. Fitting instructions are the same regardless of which type of isolating / service valve you are using. These valves can be used on copper pipe or plastic pipe with the appropriate inserts.
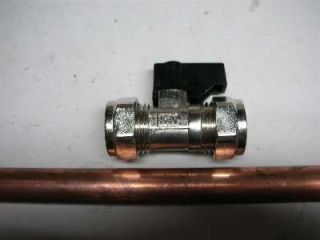
This is the 15mm isolation valve and the pipe where we are going to fit it. You must ensure that you fit the valve the correct way around or else it will not work correctly. There is an arrow on the valve which indicates the direction of the flow of water.
The first thing to do is isolate the water by following the instructions on this page Isolate the water supply. Do not cut into the pipe until the water has been isolated, now drain the pipe work by opening the correct taps, so if it is a cold water pipe you only need to drain the cold water pipe.
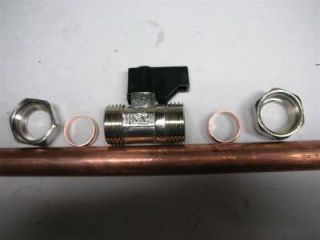
Here are the components of the isolation valve. The valve body, 2 olives and 2 compression nuts.
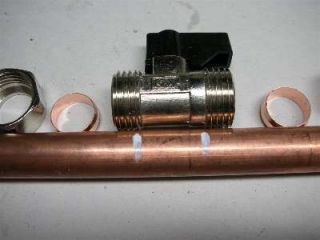
You need to remove the correct amount from the pipe work to enable the valve to fit. Here I have used a paint marker then I know exactly how much pipe to remove.
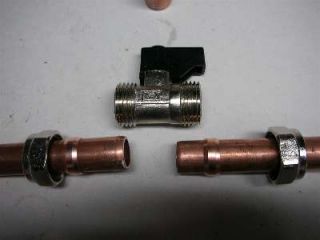
Cut the section from the pipe using either a pipe slice or hack saw, instructions on how to do this are here How to cut pipe Now slide the two compression nuts onto each piece of pipe followed by the olives.
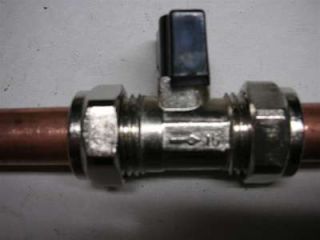
Ensure that the arrow on the valve is pointing in the correct direction and then push each end of the pipe into the fitting and tighten the two compression nuts by hand.
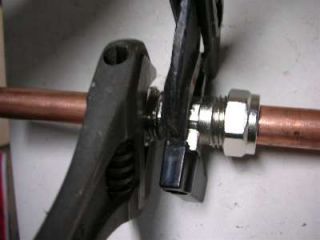
Use a pair of water pump pliers to hold the body of the valve and tighten each compression nut approx 3/4 of a full turn. Check for leaks when the water is restored and if found tighten the compression nuts a little more, ensuring that the body of the valve is held with the water pump pliers.


