Scribe cutting tiles is necessary at boundaries, for example where the tiles meet the ceiling, the floor or in corners. If you scribe cut the tiles you can guarantee that the tile will be a near perfect fit.
At first this may seem complicated but once you have done it a couple of times it is very easy. sure tile spacers are recommended for scribe tiling as they make it much easier.

Here you can see that the tiles from the corner are missing, you will also notice that the sure tile spacers are still in position.

Obtain a full tile and place it directly on top of the tile next to where you want the cut tile to be. Sure tile spacers make this easy as they hold most of the weight of the tile whilst it is marked.

You can see that a tile has been placed directly over the other tile, the two sure tile spacers nearest the wall have also been turned so that another tile can be slid in alongside.

Obtain another full tile and place this close to the wall, you can leave the tile 4mm away from the wall to allow for expansion or you can push the tile square up to the wall and deduct 4mm from the marked tile.
Mark the tile with a china-graph pencil

The part of this tile where my hand is will become the tile that fits in the gap once it has been cut.

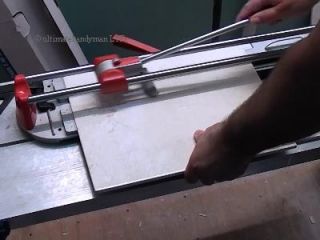
Cut the tile using a suitable tile cutter and then fix it to the wall, not forgetting the spacers. It's often easier to butter the back of the tile with adhesive rather than trying to spread the adhesive in a small place so apply the adhesive to the back of the tile and then scrape it with the notched trowel before fixing it in position.

These are the finished tiles with the spacers removed.


