A loft hatch is very useful as it allows access to the roof space from within the house, most hatches are small and often need replacing with a larger one especially if you are going to fit a loft ladder. Fitting a new hatch is relatively easy and should only take a couple of hours.
These instructions are for older houses that have separate joists in the roof space. Modern houses have preformed trusses that are structural, if you have prefabricated roof trusses or you are not sure then you must not cut the joists without first consulting a structural engineer.
The first thing you will notice from looking at the beams in the roof space is that they are very thin and cannot support much weight. Often these beams are connected to the roof structure by means of lengths of timber called stringers, these help to hold the beams up as they are only designed to take the weight of the ceiling underneath.
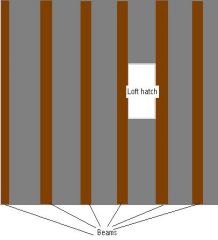
Here is a typical view from the loft- You can see that this hatch is very small as it only fits between two beams, making it roughly 2 feet 6 inches wide, we are therefore going to enlarge it to make access easier.
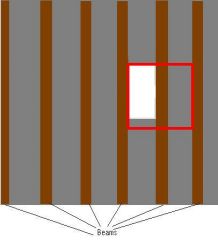
Here is the proposed size of the new loft hatch, which is the red square. Start by marking this square and ensure it is in the best possible place.
After marking out the new hole make sure that the stringers are sufficient, it may be a good idea to add some new stringers to improve the strength of the ceilings!
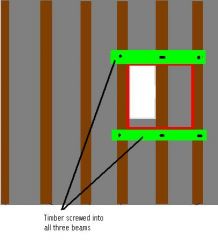
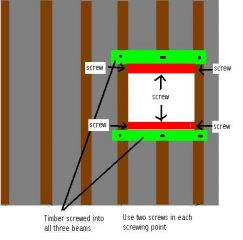
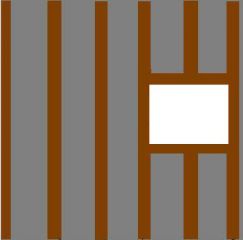
Start by screwing two pieces of strong timber (3 inch by 2 inch) across each end of the opening and screw it into all three beams.
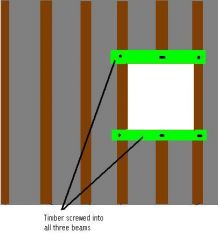
After securing the two pieces of timber you can carefully cut away the plaster and the beam in the centre to reveal your enlarged opening.


