

Acrylic van windows
Acrylic sheet can be used to secure most types of van window. Here we are using Perspex® colour 962 thickness 10mm to improve security on this Citroen Berlingo van. The van is just a few days old and has no form of security to prevent thief's from smashing the rear windows and grabbing the tools from inside. Many different colours or Perspex® are available for this type of project, in this case we wanted not only to prevent an opportunist thief from being able to reach the tools but wanted to hide them from view completely, that is why we chose Perspex® colour 962 thickness 10mm.
There are hundreds of colours and thicknesses available and some impact modified Perspex® is available in 3mm thick. Clears and tints are especially suitable as they enable the driver to see through the rear window.
Security grills are available, the one below is around £45.00 but has the disadvantage that you can still see the contents of the van! Having the windows tinted will cost approximately £60.00. Having your windows tinted will not stop a thief from smashing through and stealing your tools. A suitable piece of acrylic will prevent an opportunist thief and will also look very professional.
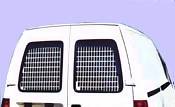
Here is a van that has been fitted with security grills, but this leaves the contents of the van visible!
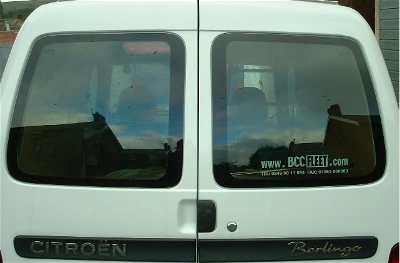
Before, you can clearly see into the van
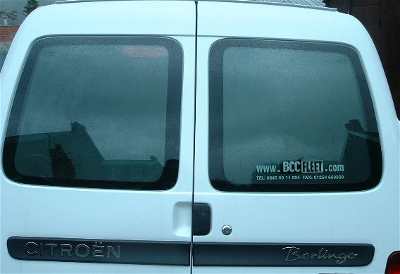
After- you can see your own reflection!
This is not a difficult job and only requires a jigsaw and blade suitable for cutting Acrylic, some paper to make a pattern, a pen to mark out the pattern, some suitable pieces of wood, a drill and suitable drill bits and self tapping screws. This project was completed in less than 90 Minutes.
Start by making a pattern from some old newspaper, cut this to the exact shape of the recess on the inside of the window as this is where the Acrylic will be fastened. Allow a 5mm gap all the way around for expansion!
The other window is a mirror image of the first window but the recess is slightly larger and requires a cut out for the high level brake light, so the second piece will be cut 5mm bigger all the way around. Mark around this pattern with a suitable marker or felt tip pen.
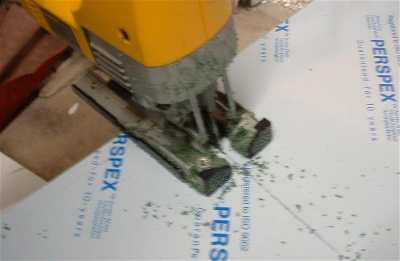
Using a jigsaw with a blade that is suitable for cutting Acrylic (metal cutting blades are normally very good) carefully cut out the required shape, ensure you do not cut it too small, if you cut it too big you can always trim it down later!
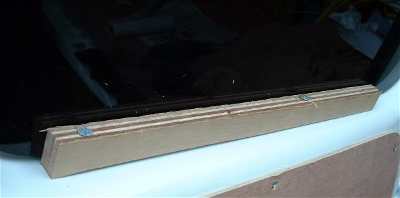
The acrylic will be held in place by drilling suitable pieces of wood and fastening them to the door with self tapping screws. The wood will need drilling with a hole slightly bigger than the shank of the screw. Hold the acrylic in place and then drill pilot holes into the recess of the door using a small pilot drill, this needs repeating on all four sides until the acrylic is secure.
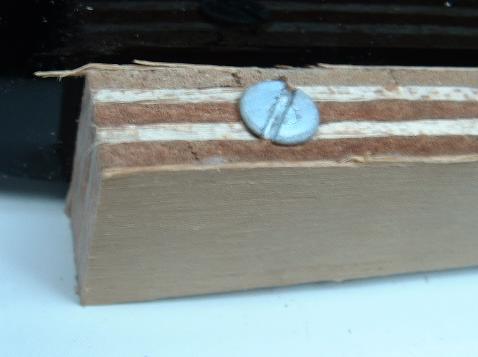
You can see that I have used 3/4 inch marine ply cut into one inch strips, these are held in place with self tapping screws measuring 2" * 10's
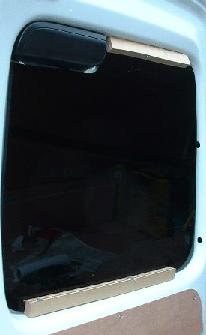
Here the top and bottom have been fastened, note the brake light is in the top left of the picture. To finish off the acrylic was siliconed around the edges to prevent dirt ingress.