How to install an Air Brick vent
Air bricks are used to vent either a cavity wall, a void under timber floors or they can be used to vent rooms for example when a gas appliance is in the room. If an air brick is being used to provide ventilation to a room containing a gas appliance a sleeve would be inserted into the cavity to ensure good ventilation. When air bricks are used to vent beneath a wooden floor it is normal to use a different kind of sleeve which can be staggered so that the vent is higher outside of the property. In this demonstration we will be fitting an air brick to ventilate a cavity wall.
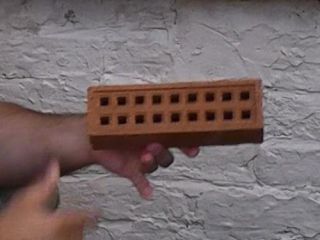
This is an air brick that has been made from clay and then has been fired, these air bricks are very durable and can easily be painted to match the surrounding wall. These types of air brick often come in two sizes to match either one brick or two bricks. If you opt for the double size vent you get more ventilation but it also means that you would have to cut two bricks in half to be able to position the air brick in the wall.
When positioning the air brick it is essential that you choose an appropriate place for it. Here we are fitting the vent underneath a window so the brick work above is supported by a window sill. The vent does not want to be too low that water can penetrate the vent, this is an important consideration if you live in an area that is prone to flooding! You can get special air bricks that prevent water from entering them if there is a flood and these should be used in areas that could possibly flood.
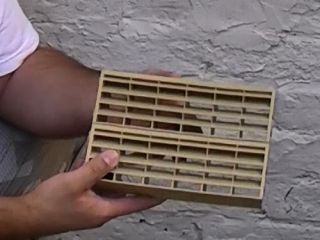
These are plastic air vents, here we have two of them which have been clipped together to make a larger sized vent. These types of vent can also be purchased with an integral fly screen which can prevent insects from crawling into the air brick.
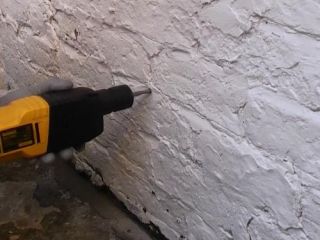
Ensure that the correct PPE is worn, such as safety glasses and work gloves The first step is to remove a brick from the wall, this can be done by drilling a series of holes around one particular brick, when the majority of the mortar has been drilled away from around a brick it will be very loose and can be pulled out from the wall.
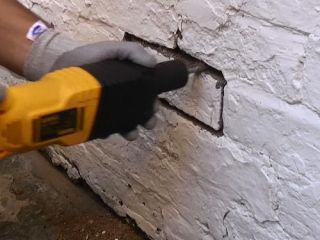
Ensure you drill all around the brick and then proceed to join all of the holes together, once you have done this the brick should be loose.
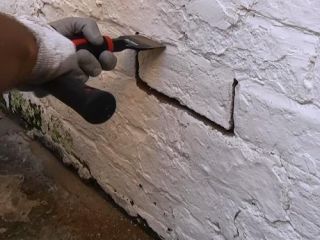
A bolster chisel and club hammer can be used to remove the brick, but this is not a preferred method as the shock can loosen other bricks in the wall, so the drill is by far the easiest and best method!
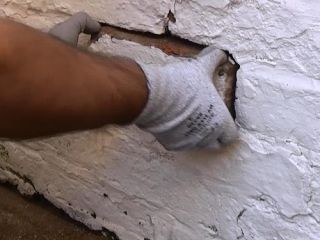
Once the mortar has been removed from around the brick you will be able to lever it free using a bolster chisel. Do not be tempted to knock the brick inwards as this will make it difficult to remove.
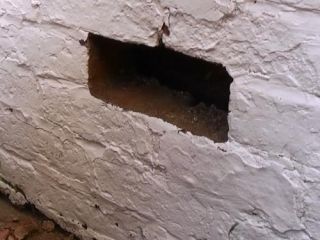
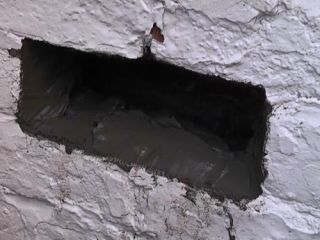
Once the brick has been removed you are left with an hole. Remove any loose mortar from the surrounding bricks and then clean the area using a soft brush.
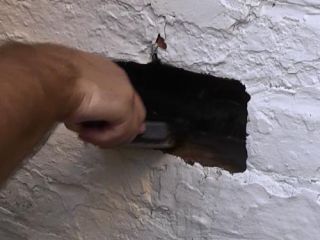
Now we need to wet the existing bricks, this is so that when we apply the mortar the bricks do not suck the moisture out from it causing it to dry out too quickly and crack. You can use a paint brush and some clean water to do this or a garden sprayer.
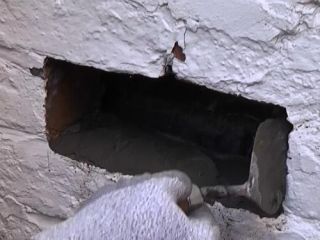
Next apply the mortar using a small trowel, ensure that you apply the mortar to the bottom an both sides. Here we have used rapid setting mortar but normal mortar is preferred and gives you much more working time. How to mix mortar can be seen here- cement mixing
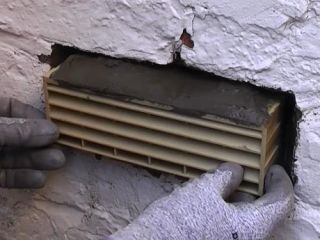
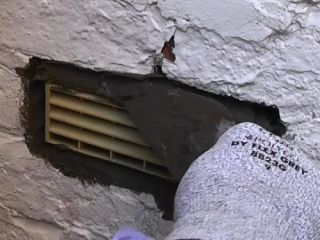
Apply some mortar to the top of the air brick and then carefully insert it into the hole, ensuring that the air brick remains level. If the air brick is not level you can level it and then pack mortar under one of the corners to hold it level.
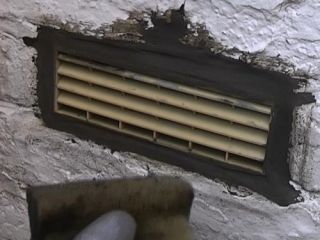
Because this wall has previously been cement washed the finish does not have to be brilliant as it is being painted afterwards. If you were installing the vent into a brick wall that was not painted or cement washed you would have to take care not to get the mortar on surrounding bricks etc. Here to get a flush finish we are wiping the mortar with a damp sponge. When the mortar is dry this wall will be repainted.


