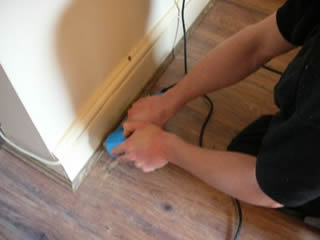
When fitting laminate flooring it is essential to leave a expansion gap around the room as if you do not leave a gap the whole floor will lift and be damaged during warm weather. You have a couple of choices when it comes to hiding the expansion gap.
- Ideally the skirting board should be fitted on top of the laminate flooring which will hide the gap completely and look professional, unfortunately this is rarely possible as it would mean fitting entirely new skirting boards!
- The existing skirting board and architrave can be cut at floor level using a suitable saw, such as the Fein Multimaster or a biscuit jointer. The Fein Multimaster is ideal but is a little expensive, The biscuit jointer is good but it is impossible to cut all the way in the corner and so needs chiselling out.
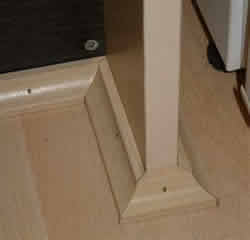
- Fit beading to the skirting board where the gap between the laminate and the Skirting board meet, this is the most popular method and can look great as long as it is done correctly.
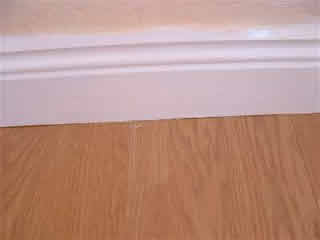
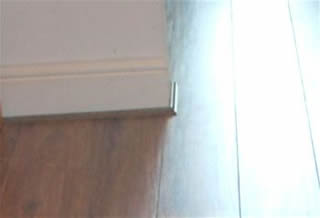
This shows what Laminate flooring looks like when the skirting board is put on top of the Laminate. This looks far better than beading.
You can get a saw that cuts the bottom off the existing skirting board but as laminate needs knocking into place, it is very difficult and you would still end up placing beading around at least one edge.
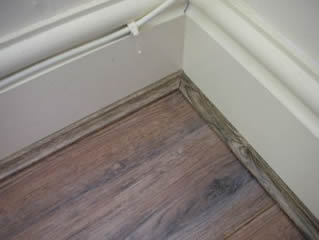
This is an internal mitre.
The important thing with the beading is to take accurate measurements!
Most of the cuts in houses are either 45 degree internal or 45 degree external cuts.
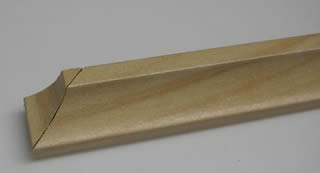
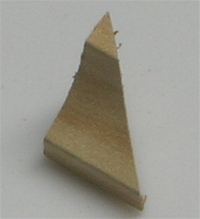
This can be used to return the beading to the wall, so that you cannot see the cut edge of the beading.
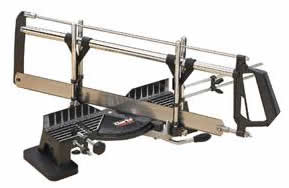
Cut the beading to the correct length using a mitre saw like this or you can use a mitre block. Normally I cut the beading a mm or two larger then required and then cut another mm off, so that the joints are perfect.
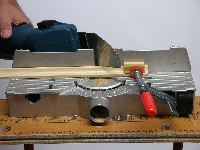
If you are lucky enough to own the Bosch fine cut saw then this will make light work of cutting beading. Please click here to read my review of the Bosch GFS 350 E.


