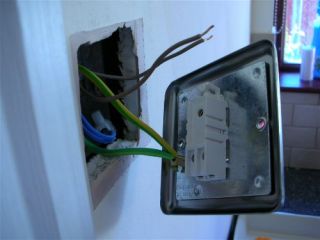
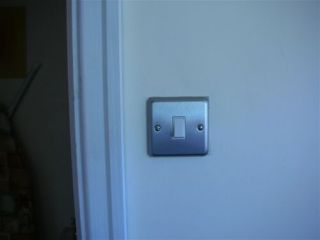
Replacing a light switch is normally very easy but you must follow certain procedures as detailed below. If you are changing a plastic switch for a metal switch it is essential that the lighting circuit is earthed, if it is not earthed do not fit a metal switch as it could be extremely dangerous!
| Before working on any electrical circuit you must ensure that it is isolated correctly and cannot accidentally be switched back on. Please read the article on safe isolation procedures before doing any electrical work. If you are not 100% certain what you are doing call a qualified electrician. Building regulations are changing all the time and modifying your home electrics could be against new rules and could invalidate your home insurance, if in doubt check first! |
If you would like to swap your old plastic light switches for newer metal ones that it is fairly straight forwards, however certain precautions need following.
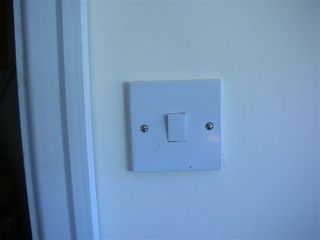
Here is the plastic light switch that is going to be replaced with a metal switch. Start by switching the light on and then isolate the electricity supply by switching off either the main switch on the consumer unit or by switching off the appropriate MCB or by removing the fuse.
The Lamp will now be off but you must follow safe isolation procedures before continuing. Carefully remove the two retaining screws and carry out the tests as described in safe isolation procedures .
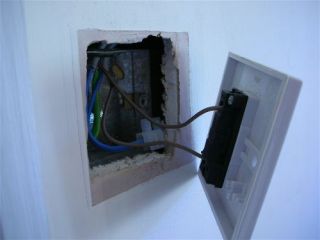
Carefully remove the two retaining screws and pull the switch forwards. You can see here that there are two brown wires that are wired into the switch and if you look into the metal back box you will see a green and yellow earth wire, that is connected to the metal back box.
If you have no earth wire present then you cannot fit a metal light switch as it is very dangerous. It was common practice years ago not to include the earth wire in lighting circuits.
If your switch has more than two wires you need to identify each wire using tape and a marker pen before removing the wires.
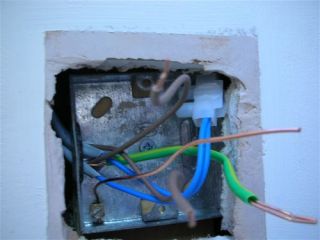
Here you can see that I have removed the earth wire ( green and yellow) from the back box and I have inserted a piece of bare wire into the earthing terminal of the back box.
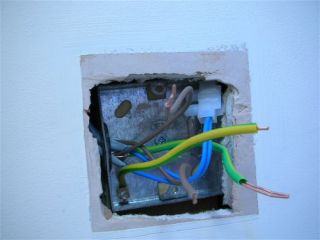
Now a piece of green and yellow earth sleeving has been slid over the bare earthing wire, this is known as a supplementary earth.


