Here are instruction on how to fit a toilet, if you need to remove the old one first you can find instructions here- toilet removal
If your toilet is being fitted onto a tiled floor then place it on an old towel to prevent it from marking the tiles.
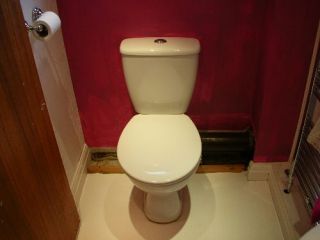
Your new toilet will come in two pieces, the cistern and the toilet pan. There should be a water inlet valve and a flush mechaninsm with the toilet, these need fitting in the cistern first.
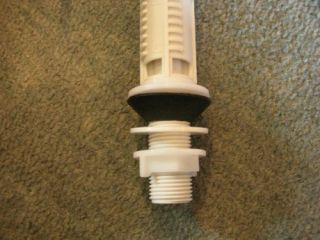
This is the water inlet valve, this fits through the small hole in the base of the cistern. Here you can see that it has a black rubber tapered washer, a flat white plastic washer and a white plastic nut. Remove the white plastic nut and the white washer and push the valve through the hole in the cistern from the inside.
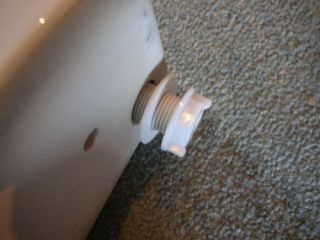
Now fit the white plastic washer and tighten the nut using a spanner or and adjustable spanner, do not over tighten this nut. Ensure that the valve is not going to obstruct the flush mechanism before tightening it fully.
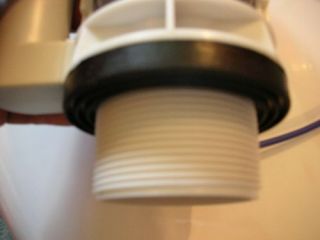
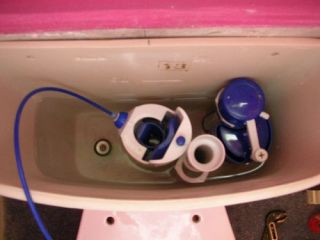
This is the flush mechanism. The black rubber washer is fitted to it and then it is pushed through the large hole in the centre of the cistern. Now another washer is placed onto the valve and a large nut, the nut is tightened holding the flush valve in position.
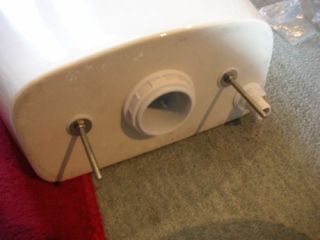
Here you can see that the flush valve nut has been fitted along with the water inlet valve. There are two long securing bolts and sealing washers that also need fitting to the cistern, these are fitted and the nuts are tightened. It is important to make usre that all washers and nuts are fitted in the correct places, the instructions will be more specific! .
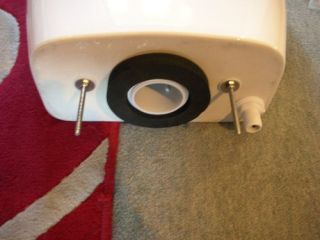
Now fit the large foam (sometimes rubber) washer over the flush valve nut. When the cistern is fitted to the toilet pan the washer is compressed and it makes a watertight seal between the cistern and pan.
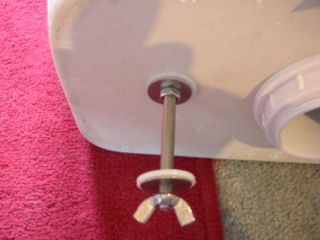
You can now fit the cistern to the pan, carefully lift the cistern onto the pan and thread the bolts through the holes on the toilet pan. Fit the correct washers and nuts and then tighten the nuts up. Your toilet is now ready for fitting.
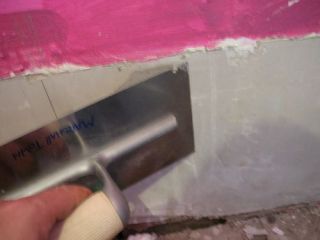
Before fitting the toilet it is a good idea to fill the overflow hole from the last toilet (if there was one) and make good any damaged areas of plaster.
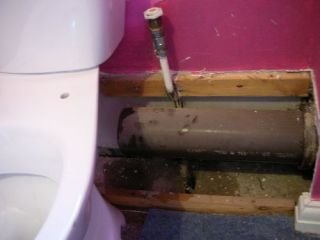
Once the toilet has been assembled you can position it. You can see here that the old water inlet valve is no where near the new water inlet valve and so the pipe will need replacing. An easy way to do this is by using a flexible tap connector. Ensure that an isolation valve is fitted to the supply pipe!
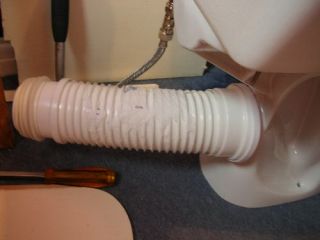
In order to connect the toilet back up to the soil pipe we are going to use a flexible pan connector as this makes it really easy. You may need to trim the soil pipe a little though! Push the flexible pan connector onto the pan and then push the toilet into position. Before pushing the flexible pan connector into the soil pipe you can lubricate it with washing up liquid as this makes it much easier to push it home. Ensure that your new toilet soil connection is at the same level or higher than your old toilet or else you could run into problems. If the new toilet is too low then it may need fixing to a piece of wood, cut to the same shape as the toilet base.
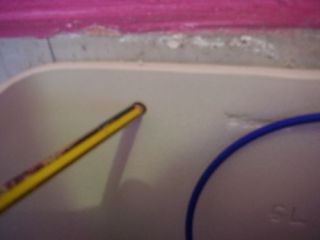
Now push the toilet against the wall and mark the position with a pencil. There are often two holes in the cistern for fixing it to the wall, mark these and then drill the wall and fix the toilet to the wall.
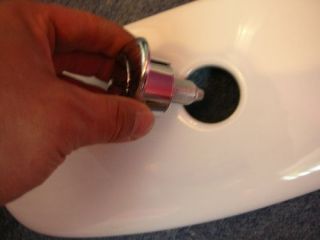
Insert the push button through the hole in the cistern lid.
Now screw on the plastic retaining nut and then connect the flexible wire from the flush mechanism to the toilet push button.
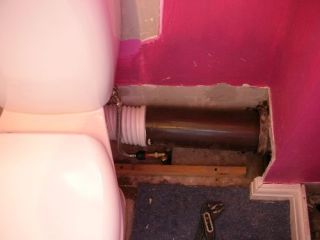
Here you can see that the soil pipe and water inlet valve are connected. This just needs boxing in now, which is another project!


